
This post was contributed by Rhea Anna. Rhea is a Buffalo, NY based advertising photographer who creates narrative based, conceptual lifestyle stories in still frame and video. Rhea’s lifestyle photography is used by businesses and brands that inspire. You can learn more about Rhea on her site: RheaInMotion.com.
I love to shoot tethered whenever I can. I believe clients are more engaged in the process when they are able to see what’s going on via the big screen. I find it’s the most successful way to create real collaboration on set. There are a couple of different ways I’ll shoot tethered, depending upon the environment and the demands of the production.
IN THE STUDIO
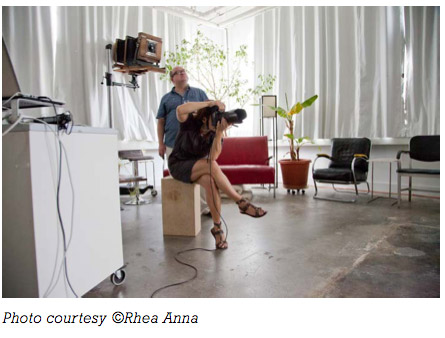
In the studio or in more controlled environments where the camera and computer will not move much, I will sometimes shoot with the laptop on a Tether Table using a wired connection. This way, the computer can be anywhere that’s comfortable for the client and the images transfer as fast as possible directly from camera to the computer. There’s almost no delay between firing the shutter and seeing the images on screen.
The one issue here is the cable. It can get yanked out of the camera port easily, or wiggle loose just enough to break the physical connection and then the software often needs to be restarted before it will recognize the camera connection again.
One tool that does help with this problem is the JerkStopper Camera Support from Tether Tools. It helps minimize the movement of the cord and can prevent it from inadvertently coming unplugged. They also make a version for the computer end, which is somewhat less critical, but it helps make sure that the USB cord isn’t going to come unplugged by accident. The most important piece of equipment for wired tethered photography is the cord itself. It’s really worth the extra effort to get a good quality, extra-long tethering cable that has plated connections, coatings to reduce signal noise, and a core that provides the best possible transmission.
OUT OF THE STUDIO
With all of that said, I shoot out on location almost all the time. I have tried (many, many times) the scenario above, but that workflow isn’t always optimal for me in the field. Being connected by cables to a laptop was too limiting for my shooting style.
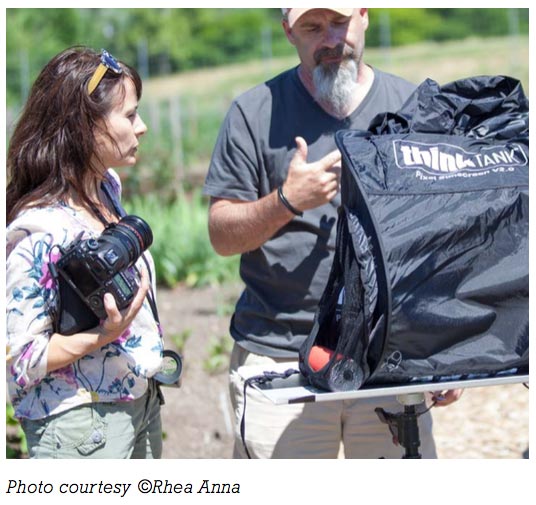
I searched for quite some time for a reliable wireless tethering system and finally landed on the CamRanger Wireless Tethering System. The CamRanger is a small device that plugs into the camera’s USB terminal and then can sit in the hot shoe or anywhere you care to put it within range of the cord that connects it.
The CamRanger creates its own network and wirelessly transmits the images (JPEG or RAW) via the CamRanger software. This allows you to not only monitor the images, but also control the camera (change ISO, shutter speed and f-stop) as well as fire the shutter. You can also watch Live View on your computer monitor. The images are saved to the CF or SD card as well as the computer’s hard drive (for some camera models) at the same time. So, there’s no need to transfer the images after the shoot.
I import all of my work into Adobe Lightroom, so when shooting with the CamRanger and CamRanger software, I like to use the Auto Import feature of Lightroom. This way we’re ingesting the images into Lightroom right away, making selections and flagging our favorites right there at the shoot. Doing this on set takes a big step out of the post processing workflow and I find it to be a great time saver.
There is one big drawback with this system: lag time. The images do not appear instantaneously; there’s a delay of 15-30 seconds or more while the RAW images fly into the computer. The faster you shoot, the longer you wait. I might have already made changes to lighting or composition by the time the client is responding to the images on screen from a minute or two ago. The delay takes some get- ting used to, but I think it’s a very worthwhile tradeoff for what you gain in the process. And just think, not so long ago we used to have to wait two minutes for every Polaroid to process before we could get client feedback!
Sometimes, when out on location, I shoot with the CamRanger and an iPad, which is a really great, light and elegant way to travel. The RAW images are saved to the card and the images that are sent to the iPad are smaller JPEGS, so they show up on screen more quickly than the laptop mode mentioned above. Even though the files are smaller, I find that it’s sometimes just the right solution, especially when there’s no Digital Tech (DIT) on set. The downside is shooting to the camera’s memory card re- quires the additional step of transferring the images from the card to the laptop and any images that are flagged as favorites on set have to be re-identified. For me, it’s not the most efficient workflow.
When shooting in my preferred on location mode, with the laptop for wireless tethered shooting, the workflow integrates with my studio practices and it’s certainly the safest work- flow in terms of protection from data loss. I follow ASMP’ s “ Best Practices and Work- flow 3-2-1 Rule” (3 copies, 2 media types, 1 offsite) so by shooting to the camera’s card and a laptop with an external drive attached, you have the 3-2-1 redundancy needed to keep files safe from damage, corruption, loss, etc. You just want to make sure that you don’t leave all three copies in one place at any given time! I use G-Tech’s GDrive USB 3.0 1TB drives, which are reliable, super slim, fast and affordable.
Back at the studio, I work from the Lightroom catalog already created on set and I simply drag the primary set of files in the folder from my laptop’s temporary working folder onto my Drobo (the amazingly easy to expand RAID array). I typically do this right away so that my laptop’s hard drive doesn’t get full, which can happen fast. The secondary backup on the external drive we made at the shoot stays “as is” and gets stored offsite. The third backup happens when the Drobo folder containing jobs in progress gets backed up using Apple’s Time Machine and it’s now safe to reformat the CF card for the next shoot!


