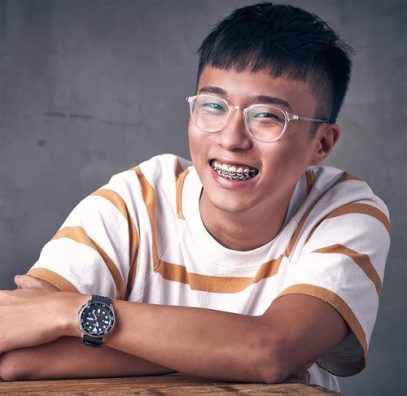
Based in Singapore, Vance Boo is a product and still life photographer having worked with brands such as Skechers, Irvins Salted Eggs, Himalaya, Boldr, Titan Digital Media, and also a pool of recurring clients as their trusted photographer of choice. Vance loves creating immersive and stunning visuals of inanimate objects that tells everyone more than what they would usually see in them. Visit his Instagram @vanceboophotography or his personal site.

The idea/concept for the shoot was first conceived when I saw many aspiring photographers on Instagram trying to achieve the cyberpunk look in their work through color grading. I then see the trend catch on in the industry with many brands using the same color palette in their advertising assets and I thought to myself, why not do something of my own? It has to be futuristic, in an urban/industrial setting with advertising value yet not too over the edge.
I first analyzed the potential buyers of this concept. After spotting brands like Adidas and Nike using cyberpunk-themed images, I decided that it would be a scenic shot with the potential of selling footwear and apparel. I wanted to capture a scene where a futuristic cyborg lady is looking for her next adventure.
The biggest challenge for me as always, was the production of the shoot. As this was a test shoot, I have to double up as my own producer. After shooting out some mails and texts, I finally secured the location, which was a motorcycle workshop. I chose the location because of the matching black paint on the wall with red lines and their red/black workbench.
With the location finalized, I moved on to recruiting my crew. Fortunately, I managed to get a close associate of mine to be my first assistant/digitech and 2 other aspiring photographers as second and third assistants. A budding talent in the Singapore makeup artist scene also kindly agreed to help out. And with that, my team was completed.

Casting the right talent for a shoot is never easy. It’s even more difficult for a test shoot. I had to bounce between 4 talents before I finally found the right person for the job! With all the pieces of the puzzle gathered, the shoot was next.
For the final image I envisioned, I know that I wanted to get the right colors in-camera as much as possible. For that, I used 4 RGB LED Tubes. 2 were set in the background (red and blue), which I left it in shot, acted as the rim light as well as lighting up the background. 2 were on camera left (purple) and right (teal) to act as fill light and to cast the colors. I also used a Profoto B1X with RFi 1×4 Softbox on camera left to act as the key light to anchor the whole image down with white light. An additional Profoto B10 Plus with honeycomb grid and a quarter CTB was placed behind the model to act as hair light. A fog machine was also used to help create the mood I wanted.
I always shoot tethered as much as possible, into CaptureOne Pro. It allows me to tweak images real-time to what I need, so that every shot I take looks just like what I envisioned. The bigger screen also allows me to spot for any mistakes or imperfection that I have to make. It also makes communication to my talents and MUA way easier as they can see what I am seeing. My clients or creatives working on set could also see if we are getting what we want in the final Key Visual(s). This makes communication and synergy between everybody on set so much easier.

I am also a composite photographer, taking advantage of photo manipulation to get what I want in post-production. Composite photography is basically shooting things in different plates and cutting what you need out later to mesh it together into one single image. It can be used to achieve impossible things and your creativity is the limit.
For this particular image, my model’s expression and posture was very important. It is difficult enough to get the right expression with the right eye/fingers/leg position or postures. To get the smoke move where I want in camera with the right expressions from the talent in one shot, was an arduous process. To save myself the time on set, I shot the talent and the smoke separately and I meshed them together in post, in Photoshop. I also took parts of other stock images such as neon signs, metal pipes, computer screens and cables to add flavors and mood to the scene.

The final image was an image comprising of 2 images that I shot, and 12 other stock images which I blended in. The most important tip for blending a stock image is to use the right adjustment layers until the exposure and colors look the same as your base image.


