Bio: Catherine Slye is a fine art photographer and manages all technical support for Tether Tools.
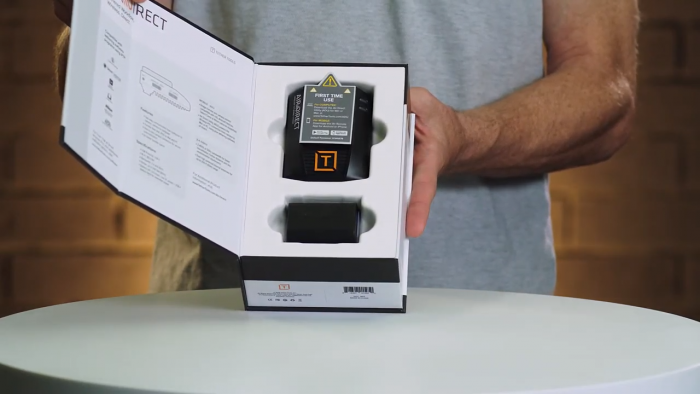
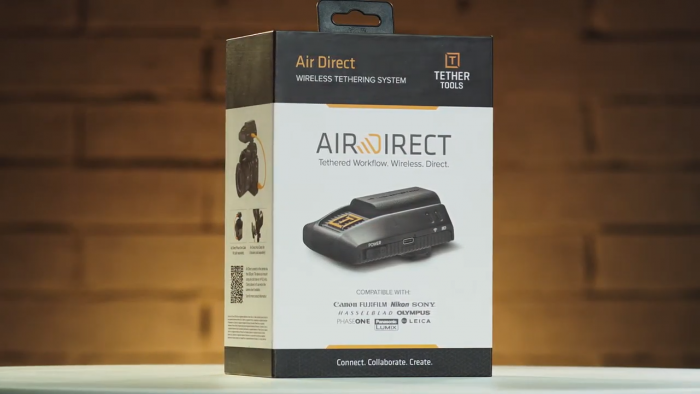
Your Air Direct has arrived and eager to get started. So, let’s get to it! Open the box!
Important: Please take a moment to read the First Time Use! alert when you first open the box. If you are a Canon or Nikon camera user, you have the ability to connect to a mobile device with the Air Remote Mobile Tethering App (which you will need to download.) You will also need to download the Air Direct Utility (ADU) to connect the Air Direct to your computer.
Included with your Air Direct is a TT-LP-E6/N battery; remove and place it into the battery charger (included) while you download the Air Direct Utility (ADU) from www.tethertools.com/adu onto the computer you plan to tether to with the Air Direct and your camera.
Take a few minutes to read the included Quick Start Guide, PDF version linked here.
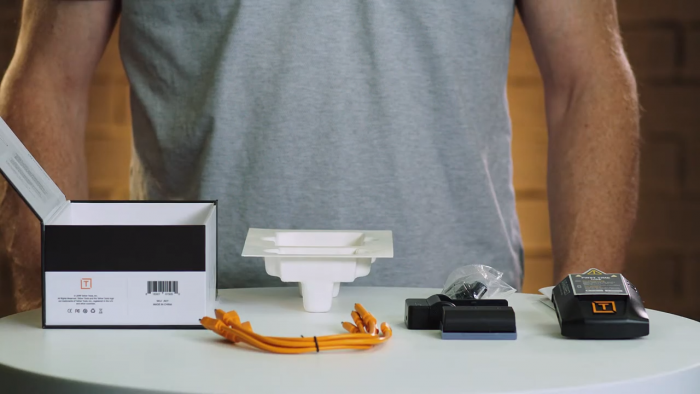
Included in your Air Direct are the following items:
One (1) Camera Connector Cable – USB 2.0 Mini-B 5-Pin
One (1) Camera Connector Cable – USB 2.0 Mini-B 8-Pin
One (1) Camera Connector Cable – USB 2.0 Micro-B 5-Pin
One (1) Camera Connector Cable – USB 3.0 Micro-B
One (1) Camera Connector Cable – USB-C
One (1) DC to USB A power cable
One (1) TT-LP-E6 battery
One (1) LP-E6 battery charger
One (1) 2.0 Micro-B 5-Pin battery charger cable
Now that you have installed the ADU onto your computer and the TT-LP-E6 battery is fully charged, let’s connect the Air Direct onto your camera.
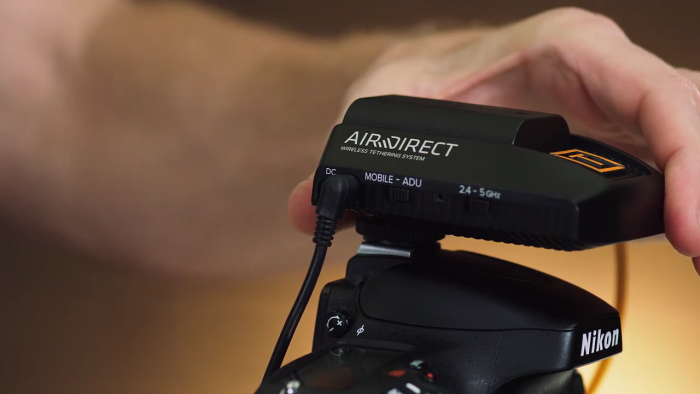
The quickest and easiest place to connect is to use the cold shoe connector on the Air Direct and attach it to your camera’s hot shoe. Or, if you use an L-Bracket on your camera, you can use the Tether Tools Arca Clamp for L-Bracket (sold separately).
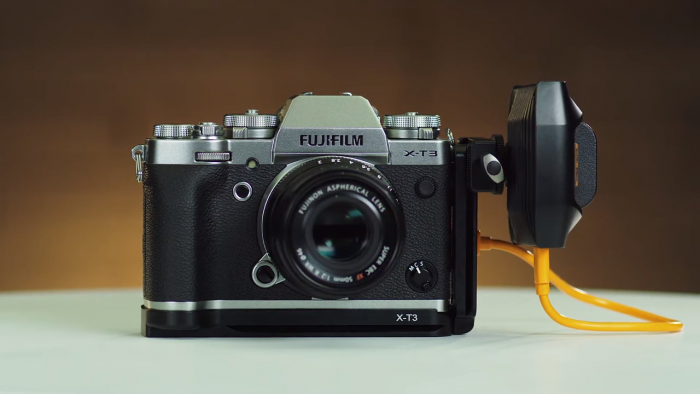
Step 1
Connect the Air Direct to your camera by inserting the supplied compatible camera connector cable into the Air Direct and the camera’s USB data port. Keep the camera turned off.
Step 2
On the Air Direct device, set the switch to ADU, then turn the Power On.
The Air Direct Wi-Fi network (indicated by the blue light) will initiate. After 10 seconds, the blue light will blink fast for approximately five seconds, then slow blink for approximately 10 seconds, then turn to a solid blue light. Once solid, pause for approximately 5 seconds, now the Air Direct Wi-Fi Network is ready to connect to your computer.
Step 3
Access the Wi-Fi Settings on your computer and connect to the Air Direct Wi-Fi Network (2.4 or 5GHz). Enter the default password, 12345678. The password will be saved on your computer.
Step 4
On your computer, launch the Air Direct Utility (ADU) software to link your computer to the Air Direct.
Step 5
Turn the camera ON. You may now open the tethering software of your choice and begin your session. The ADU must remain running and connected while using the Air Direct device to tether to your software. It is recommended to close all other programs when shooting tethered.
Using Catalina 10.15.x? Compatibility issues between macOS Catalina 10.15.x, Capture One 20 and Adobe Lightroom have prevented those users from being able to connect and use Air Direct. For more details, along with alternative workflow considerations for those scenarios, contact customersupport@tethertools.com.
Watch our Unboxing and Setting Up Your Air Direct Wireless Tethering System series of videos.
Any questions? Reach out to us at customersupport@tethertools.com and be sure to check out the Air Direct FAQ
Be sure to watch our Unboxing and Setting Up Your Air Direct Wireless Tethering System series of videos.


