Master Articulating Arm + Photobooth Set Up:
-
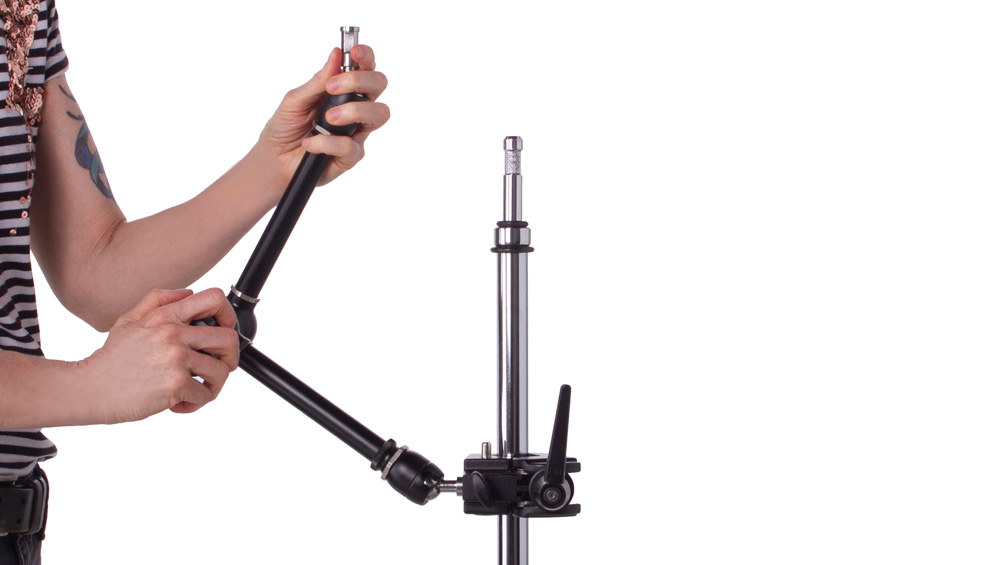
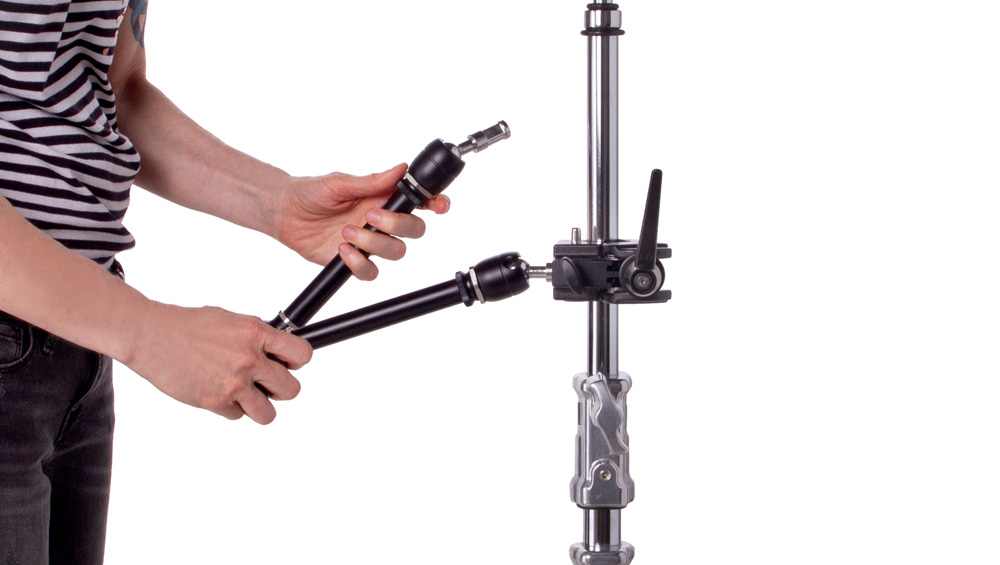
Unpack your Master Articulating Arm. The center knob controls all the joints, the main at the V and at both ends. Hold the two arms in one hand and loosen the knob in the other.
-
Now that the knob is loose, all three joints are also loose. The arms and baby studs at the ends of the arms can now be manipulated into the position you want.
-
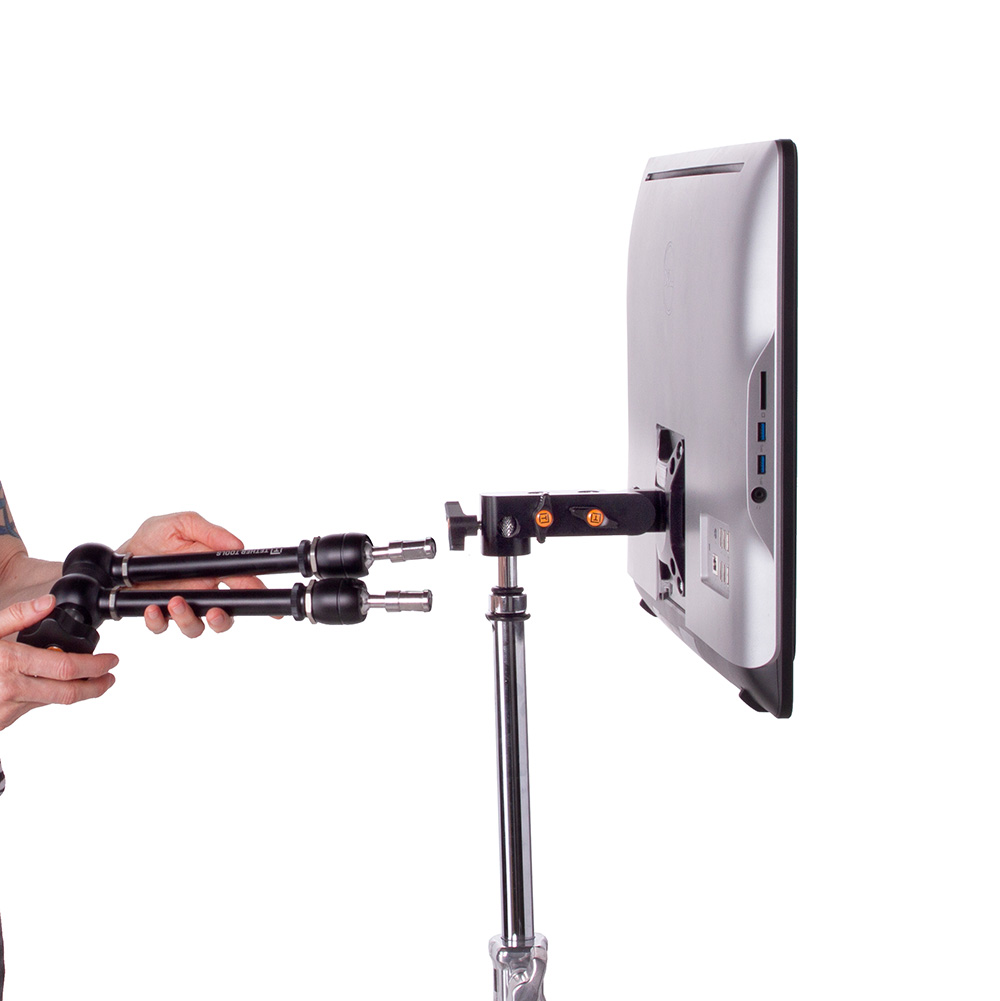
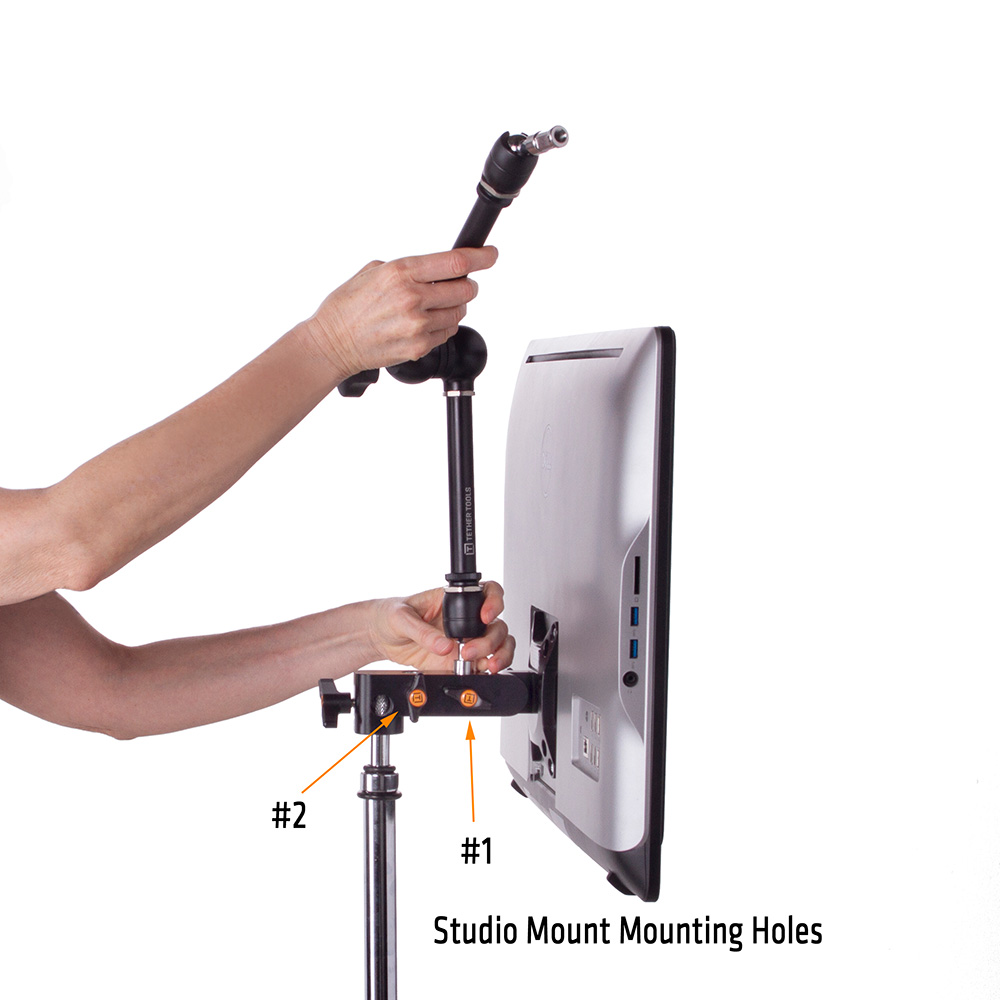
First, on the Studio Monitor Mount, unscrew knob #1 to allow for the baby stud to be inserted in hole #1. While holding one arm, insert the Master Articulating Arm baby stud into hole #1. Then tighten knob #1 to secure the baby stud into place.
-
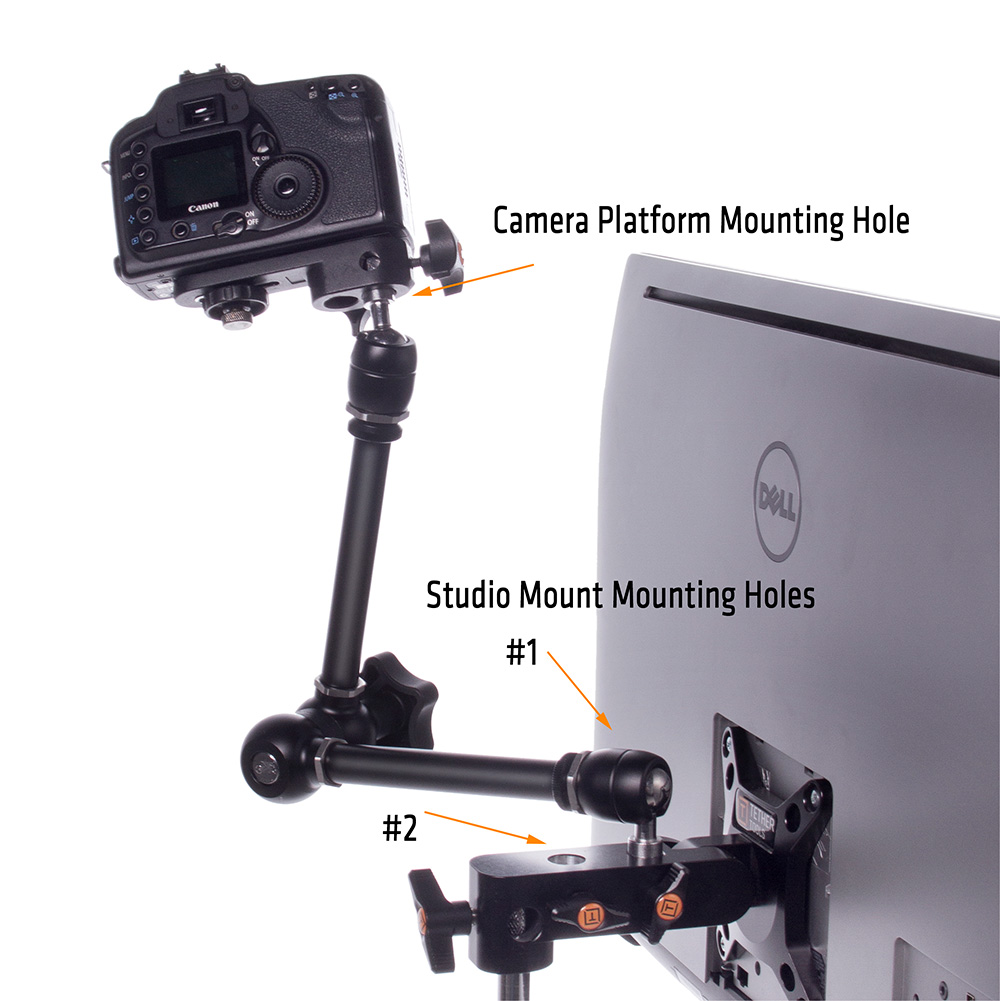
Now let’s tighten the knob to stiffen the whole arm so we can attach the camera. In this demo I have our camera platform already attached to the bottom of the camera. The platform can accept the baby stud from the Master Articulating Arm in the same way that the Studio Monitor Mount does – loosen the camera platform knob to clear the hole so it can accept the articulating arm baby stud, then tighten the knob to secure the baby stud to the platform.
-
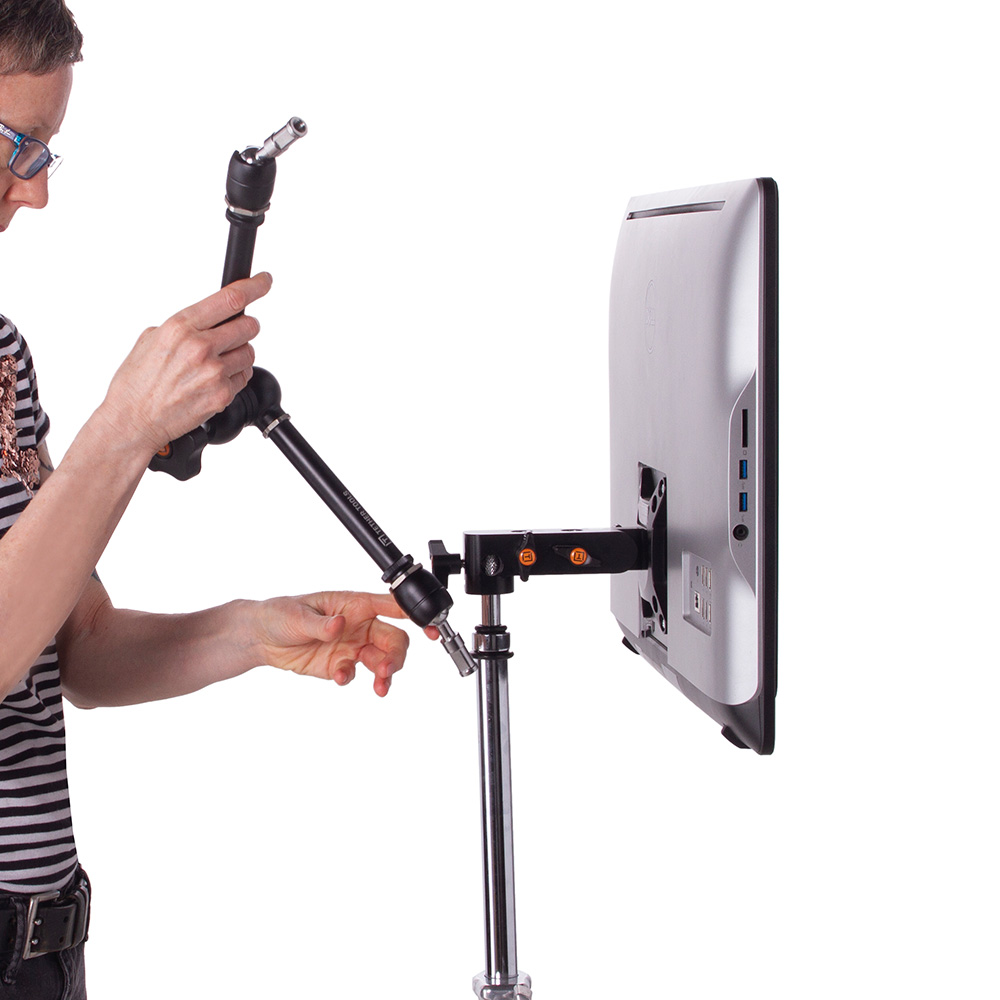
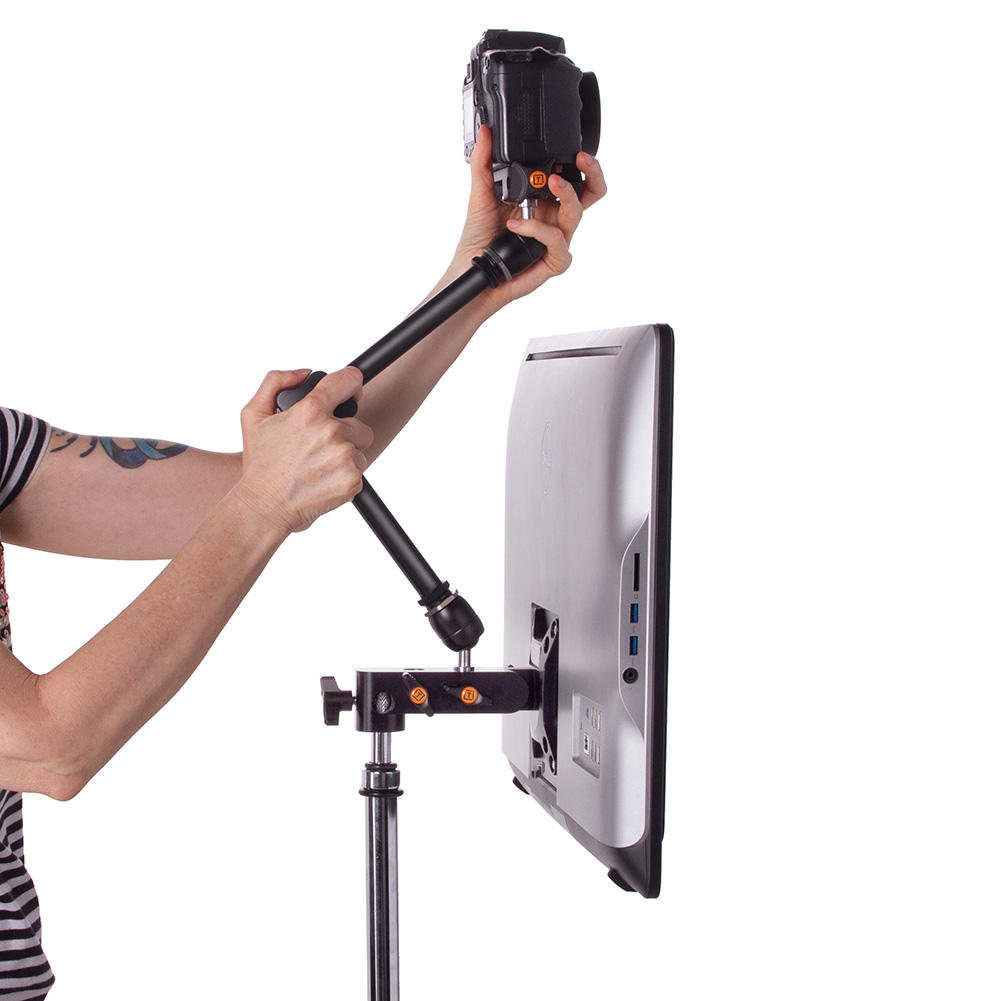
Now that the Camera + Camera Platform are secure to the Master Articulating Arm you can position the camera to where you want it.

-
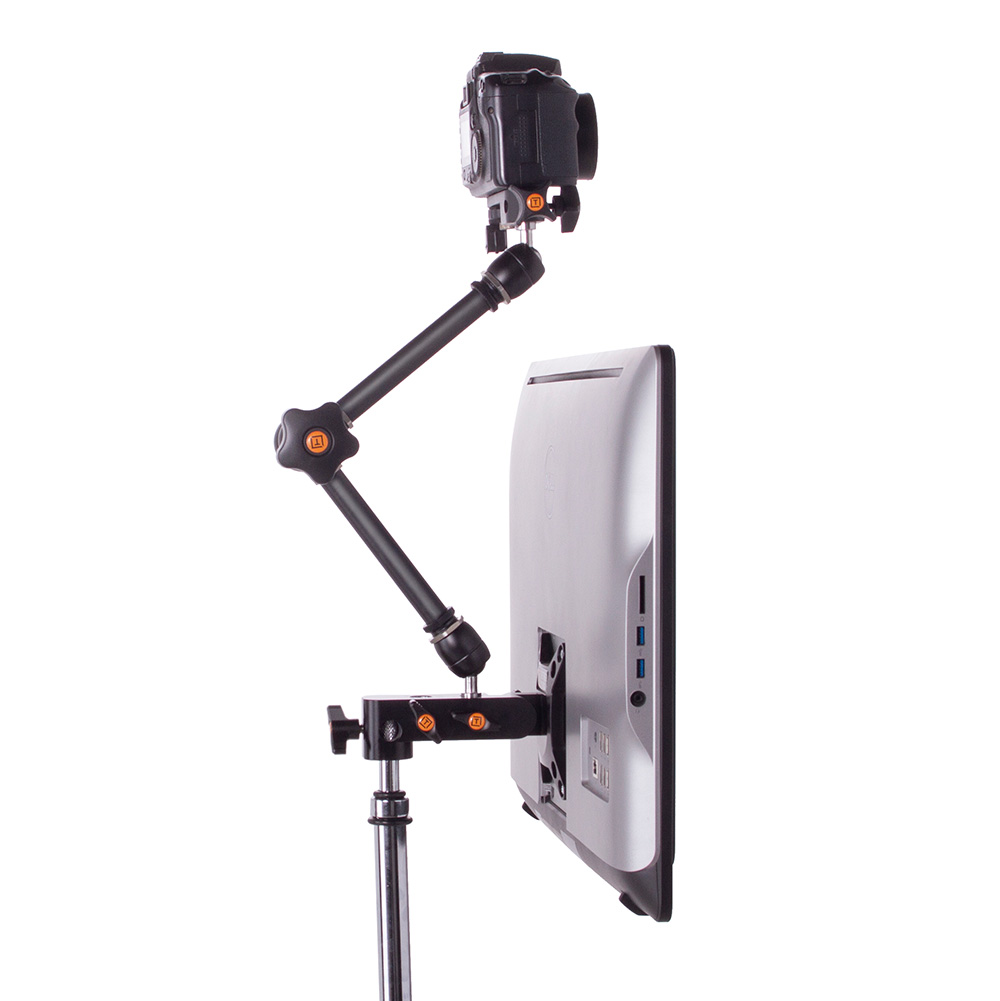
Once the camera is in position, tighten the knob and the entire arm will become rigid and stay in place.
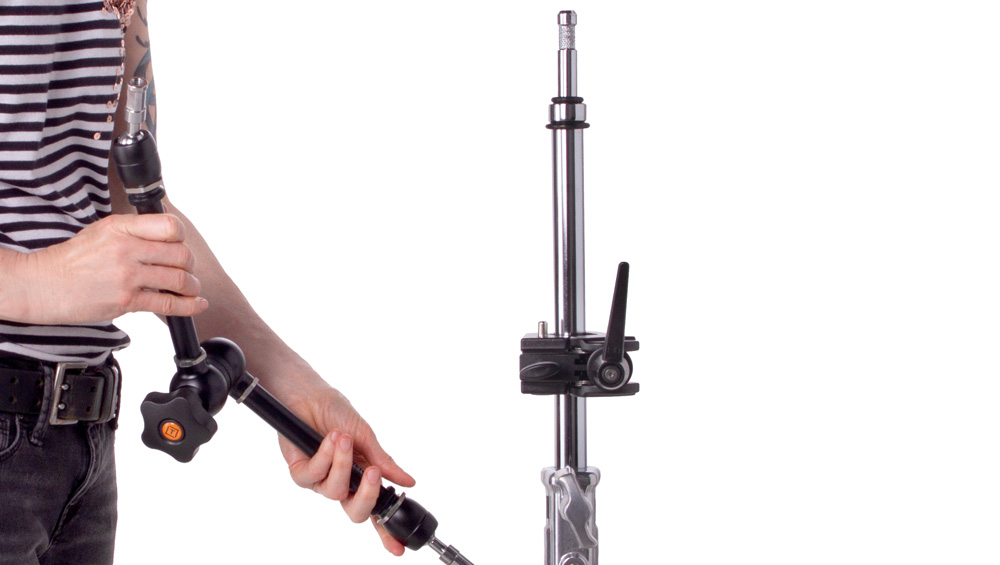
Master Articulating Arm + Master Clamp:
-
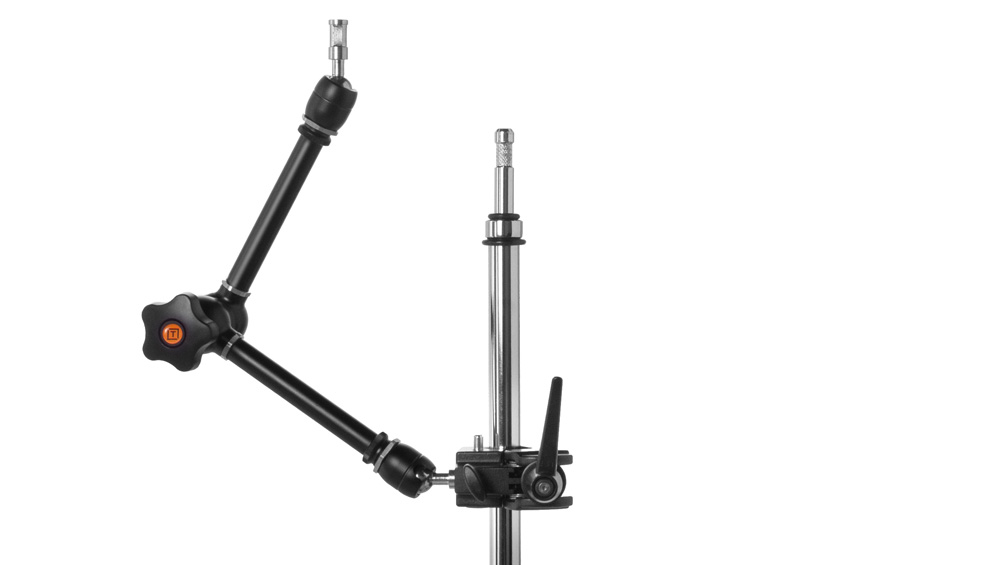
Loosen the central knob on the Master Articulating Arm. This knob controls all the joints on the arm, allowing it to be manipulated into the position you desire.
-
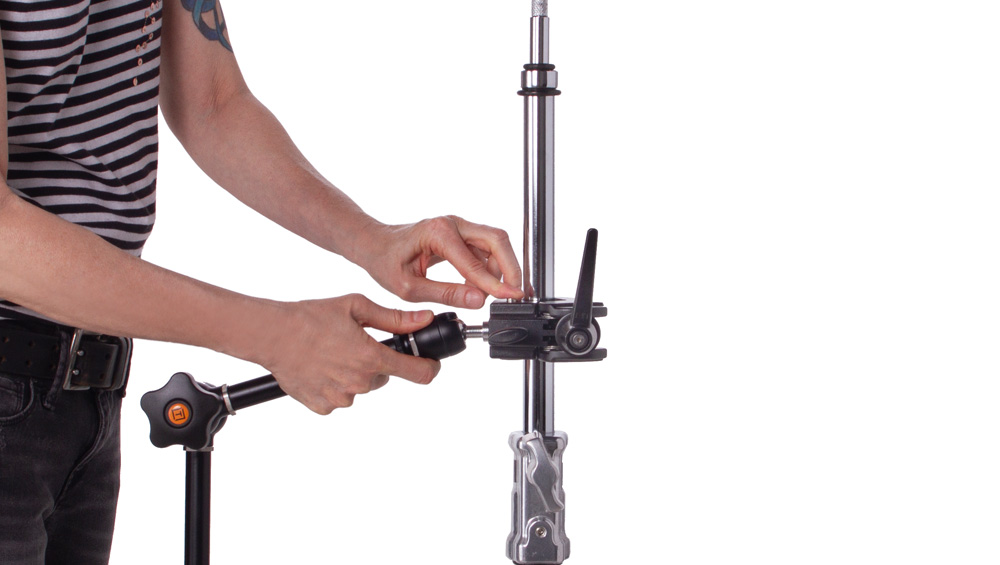
First, unscrew the knob and then press the button on the Master clamp to clear the hole and insert the Master Articulating Arm baby stud. After fully inserting the baby stud, tighten the knob.
-
Position the arm.
-
Once in position, tighten the main knob and the entire arm will become rigid and stay in place.