Professional photographers who are new to tethered shooting often ask, “Can I tether directly into Adobe Photoshop?” The short answer is no, because Photoshop does not support live tethered capture or automatically open new images as they’re taken.
To shoot tethered within Adobe’s ecosystem, photographers use Lightroom Classic. Lightroom recognizes when a camera captures an image, transfers the file to the computer in real time, and displays it instantly on screen. This allows photographers to check critical focus, composition, exposure, and styling as they shoot without interrupting their workflow.
One of the biggest advantages of tethering in Lightroom Classic is the ability to apply presets and adjustments as you shoot, giving you a closer-to-final image in real time. By making creative decisions during capture, photographers can reduce the amount of post-production work that might otherwise be handled in Photoshop. With that in mind, we turn to professional photographer Mark Wallace, who shares how a Lightroom-first tethering workflow adds efficiency, consistency, and creative focus to his work.
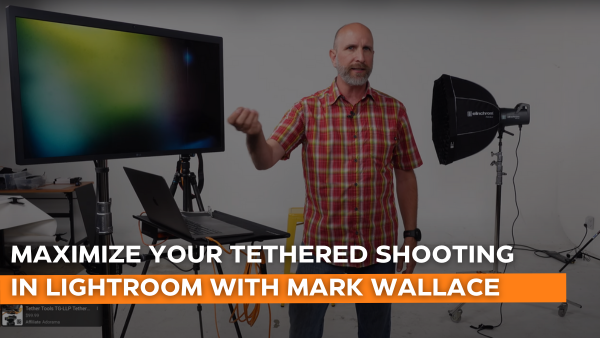
In Mark’s YouTube video, “Create Adobe Lightroom Classic Presets for Tethered Shooting | Mark Wallace | Exploring Photography,” he dives deep into the world of tethered shooting, sharing his expertise within Lightroom with his ability to show images directly to the client and/or model using a large external screen with Lightroom presets already applied. In this article we take a closer look at the gear and techniques Mark uses.
How to Display Images From Lightroom to an External Monitor
Next, Mark guides viewers on selecting specific content to display on the secondary monitor. This step allows photographers to tailor their workspace according to their needs, whether it’s showcasing the histogram, grid, or individual image details.
Step by Step Instructions
- Connecting Your External Monitor or T.V.
- Determine which port you’d like to use on your computer, and your monitor/television. It’s fairly common nowadays to connect with a USB-C to USB-C cable from the computer or laptop to the monitor, but we’ll include some options below.
- Display your monitor or T.V. as a secondary display.
- Mac Users: Go to Settings > Displays > Arrange and orient the displays to your liking.
- Windows Users: Select Start > Settings > System > Display and Windows should automatically detect your second display. Use the dropdown list next to the image of your display and orient both displays to your liking.
- Choose what to display on your secondary monitor within Lightroom Classic.
- Go to Window > Secondary Display > Show. This will display your image full screen after double-clicking the image.
- To change what’s displayed on the secondary monitor go to Window > Secondary Display. From here you can choose to display the loupe view, grid, survey, slideshow, etc.
How to Apply Presets Using Adobe Lightroom Classic
Mark then demonstrates how to create custom Lightroom presets during tethered shooting. This allows photographers to automatically apply consistent edits in real-time, ensuring their vision is accurately represented to the model and client.
Step by Step Instructions
- Applying edits to your shoot.
- Shoot a test image and apply any edits on the right-hand side of the screen within Lightroom.
- Creating the preset.
- To create a preset using your edit, click the “+” icon within the develop module on the left side of your screen just right to “Presets”. Then click “Create Preset”. From here you can name the preset with the option to keep or remove any of your existing edits.
- Importing Presets.
- To import past presets simply follow the directions above, but choose “Import Preset” instead of “Create Preset”. From here you can apply any past presets you’ve created.
Mark Wallace’s Tethering Setup
Rock Solid VESA Studio Monitor Mount for Stands
Mark Wallace highlights the importance of having a reliable monitor setup on set. Using the Rock Solid VESA Studio Monitor Mount for Stands by Tether Tools, he demonstrates how crucial it is for photographers to have a clear and accessible display for reviewing images. This mount holds monitors up to 80lbs (35.5kgs) and can be mounted to common C-stands and light stands utilizing the standard 5/8″(16mm) baby/junior pin. It offers stability and flexibility, ensuring that your monitor is perfectly positioned improving workflow efficiency.
Pro Tethering Kit:
Mark’s workstation consists of the Pro Tethering Kit, a comprehensive solution designed for robust and reliable performance. The kit includes all essentials for a sturdy tethered setup including a Tether Table Aero, LAJO Bracket , Aero SecureStrap, Aero Clip-on Hooks, TetherGuard™ Computer Support, and other accessories to customize your setup. The unmatched workstation allows Mark to focus on his creative process without worrying about technical hiccups.
TetherPro USB-C to USB-C, 31′ (9.4m), Straight to Right Angle Cable
For tethered shooters, especially, Canon shooters, Mark introduces the TetherPro USB-C to USB-C, 31′ (9.4m), Straight to Right Angle Cable, addressing common power delivery issues with the Canon R series while tethering. This uni-directional exclusive data transfer cable ensures a smooth and reliable connection, enhancing the tethering experience by eliminating interruptions, which is especially critical during demanding shoots.
TetherGuard LeverLock Plate
Proper cable management is paramount in tethered shooting to avoid disconnections and potential damage to equipment. Mark uses the TetherGuard LeverLock Plate, emphasizing its role in safeguarding ports and maintaining a secure and organized setup. This small but vital accessory locks the cable in place to the bottom of your camera, preventing accidental unplugging and ensuring a seamless workflow.
Mark Wallace’s insightful video is a treasure trove for photographers looking to optimize their tethered shooting setup. By integrating an automated tethering session, you can ensure the client and model see your vision without explanation, allowing you to focus on what truly matters – capturing stunning images.


