Are you a food or commercial photographer looking to capture stunning flat lay shots? Or perhaps you want to improve your tethered shooting game? Smart Shooter might very well be the software solution you need. And with the software’s Overlay Mode feature, you can take your flat lay shots to the next level.
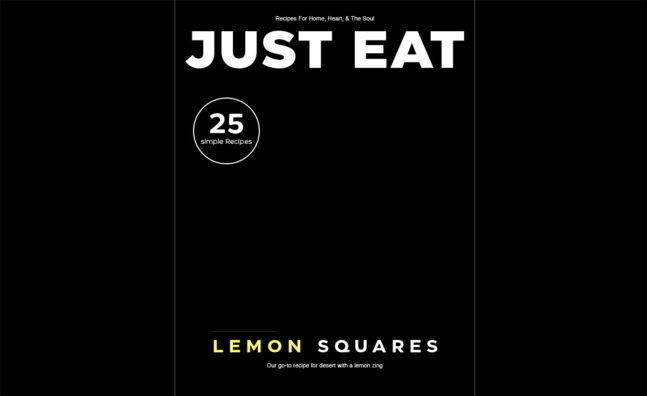
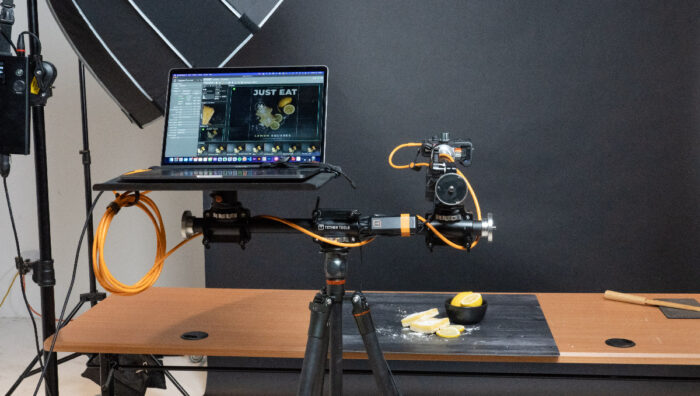
For this shoot we wanted a pop of color, so we chose to feature fresh-cut lemons, and lemon bars on a deep, black Duo Board from VFlat to create a high-contrast image. The image was shot overhead, using our All-In-One Portable Studio Tethering Kit. To tether from a Sony A7R IV camera to MacBook, we used Smart Shooter and it’s Overlay Mode to insert a magazine template we composited in photoshop.
What Is Overlay Mode?
So what is Overlay Mode, and why should you use it? In short, Overlay Mode is a powerful tool that allows you to easily line up your shot and create a composite image in real-time. This can be incredibly useful when you’re shooting a flat lay setup with multiple objects or subjects. Rather than guessing where to position each item, you can use Overlay Mode to see exactly where everything fits together before you take the shot.
To use Overlay Mode in Smart Shooter, follow these simple steps:
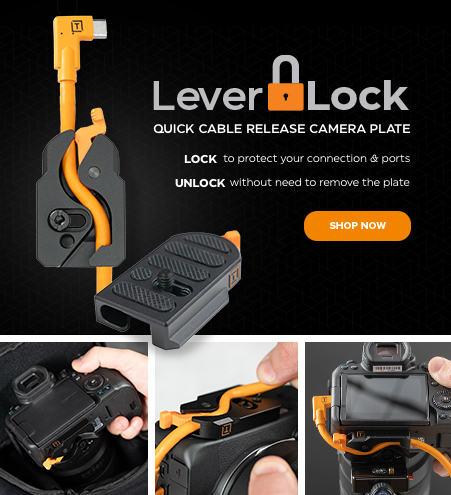
1. Connect your camera to your computer using a TetherPro Cable.
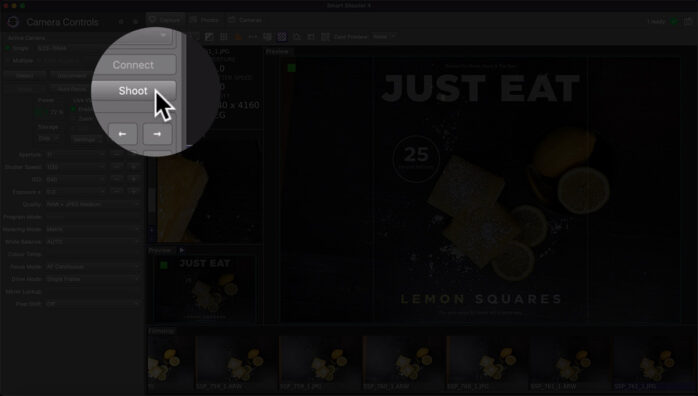
2. Take a practice shot using the camera of your choice. Take note of the file size. You will need this during the next step.
3. Create a new document in Photoshop using the dimensions noted in step 2. Import or design your magazine text overlay along with any other elements you’d like to include within the overlay template. For our example, we’ve included white bars on either side of the magazine overlay so we can see the magazine cover dimensions while shooting. Save the document as a .jpg and save it to a location of your choosing. Take note of the location. We’ll use this in the next steps.
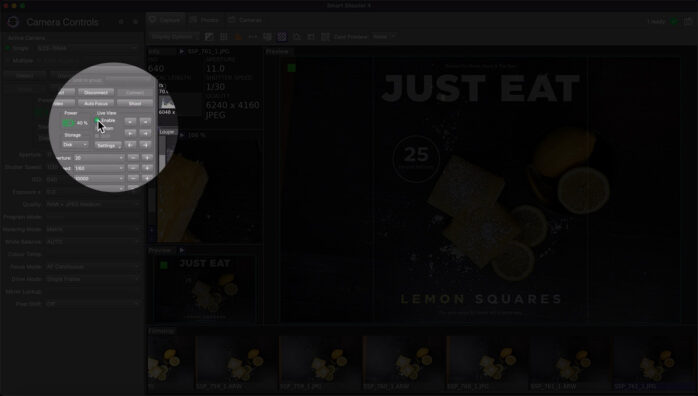
4. Open the Smart Shooter software and enable live view within the main menu on the left-hand side of the screen.
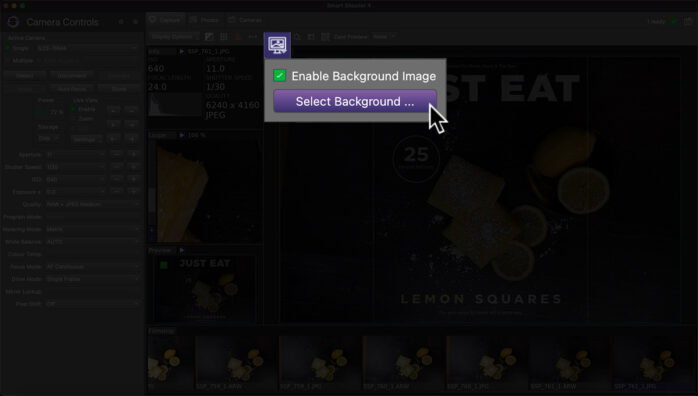
5. Click on the “Background Image” icon within the top navigation, click “Enable Background Image”, and then “Select Background”. Navigate to the folder in step 3 and locate your .jpg and click “Open”.
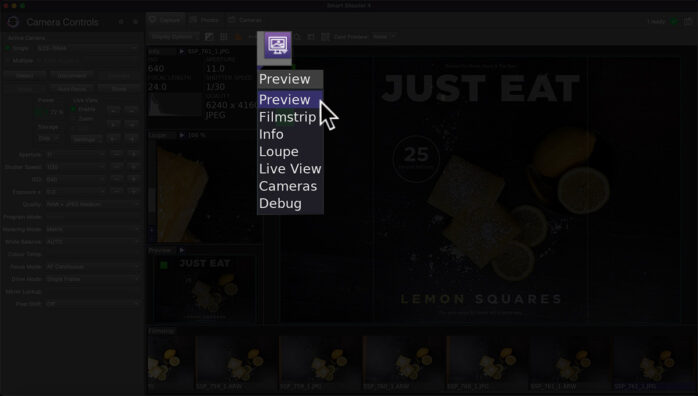
6. Make sure to set your main window to “Preview”.
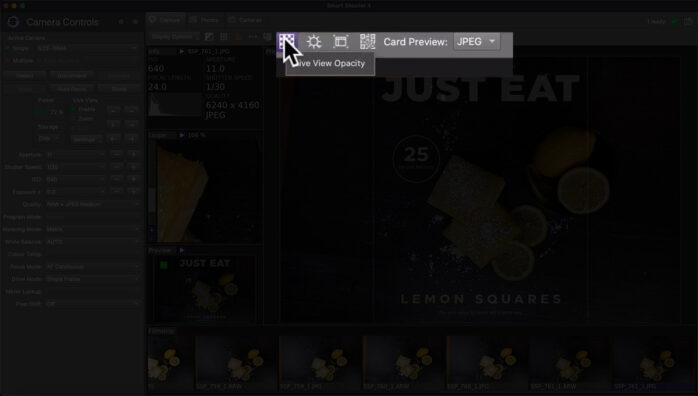
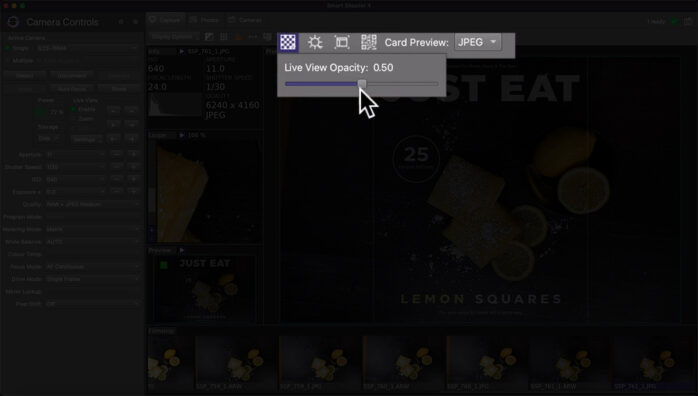
7. Adjust the opacity of the overlay as needed. This will allow the overlay template we created to show within your preview window; enabling live adjustment of the magazine composition while tethered into Smart Shooter.

8. Take your shot!
Benefits of Overlay Mode
There are many benefits of Overlay Mode for flat lay set-ups. You can save time, improve accuracy, and achieve more consistent results. Plus, with Smart Shooter, you can easily adjust camera settings like aperture, shutter speed, and ISO, right from your computer screen.

Overlay Mode can also be incredibly useful for other types of photography, such as product shots, where precise positioning is key. And with the ability to use Smart Shooter with a variety of cameras and tethering cables, you can easily integrate it into your existing workflow.
If you’re ready to take your tethered shooting game to the next level, be sure to check out the Tether Tools All-In-One Portable Studio Tethering Kit.
In conclusion, Overlay Mode in Smart Shooter is a powerful tool that can save you time and improve your accuracy when shooting flat lay setups or other precise compositions. By using this feature, you can easily see where each element fits in your composition and adjust as needed before taking the shot. And with the All-In-One Portable Studio Tethering Kit, you can easily integrate tethered shooting into your workflow and achieve even more consistent results.
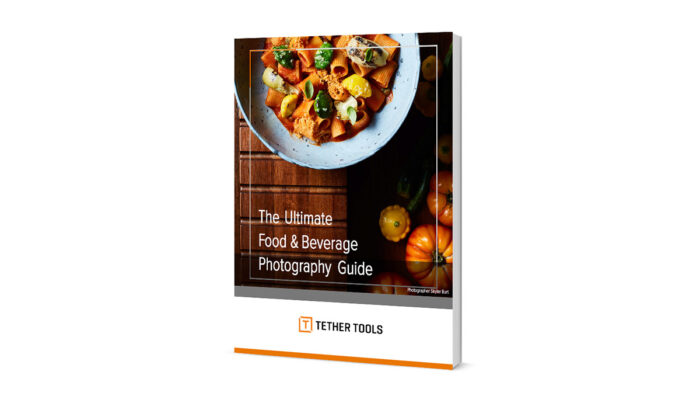
If you’re specifically interested in food and beverage photography, don’t miss the new Ultimate Food & Beverage Photography Guide.