For this shot, I wanted to create a moody yet vibrant image of these soba noodle bowls, focusing on the earthy tones of the background, giving a rustic look. I knew that black, matte bowls would be essential for this shot (so as not to create glares, and to help the food really pop) so I sourced these ones specifically for this shoot.
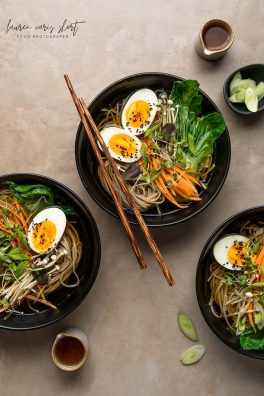
With my food shots, I try and keep my scenes minimal so the story can mostly be about the food and letting the viewer imagine eating it. For this shot, I included some chopsticks on one of the bowls (the placement of which I’ll come back to!), a couple of hugs of extra broth, and a few extra onion slices. This allows the scene to look a little “lived in” and real, without being messy.
The biggest challenge in a shoot like this where you’re working with so many ingredients, is keeping everything fresh while you’re working. The best lighting and camera in the world won’t cover up wilted pak choy.
Planning
I’m a big believer in planning my compositions before I start shooting. There are a few reasons I do this, one is to give me time to think through my composition before I get on set (and my food is withering away in front of me), and the second is to fully harness the power of composition techniques. In still life photography, these techniques can help food photographers with subtle touches in the image like the direction of the props and even the styling of the food.
In this image, I used the golden triangle to compose my image:
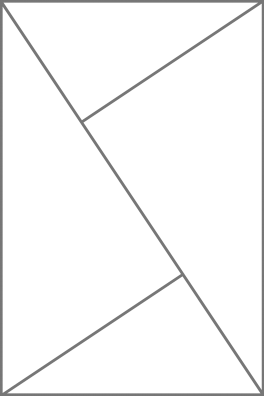
This, combined with the rule of odds made me decide on three bowls, harnessing many different diagonals throughout the image. I did a rough sketch of the placement of the bowls and supporting props, particularly the chopsticks so that as I was tethering my shoot, I could keep the golden triangle theme present in my final image.
In a shot like this, it’s crucial to set up the scene and do some pre-lighting shots before even thinking about bringing the food in. Once the food is on set, it’s a ticking time bomb before you don’t have a useable bowl of soba noodles anymore, so getting the lighting setup perfected first is imperative.
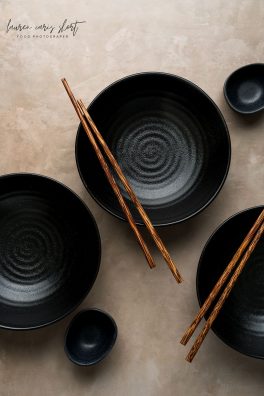
This was my final pre-lighting shot before I started moving the food in. From this point, I only made a few small changes to the props once I had my final scene plated, allowing me to capture the noodles fast before they wilted.
An important part of this dish was the styling of the ingredients. I had already planned that I wanted julienned carrots to create an elegant look (and also giving me another opportunity to use a diagonal), noodles wrapped in neat nests, small white Enokitake mushrooms (which I also had to plan to source!), bright pak choy and an egg with a yolk just soft enough but not too runny as it would be very difficult to work with. Once I was done with my pre-lighting I went to prepare each ingredient and bring it into the studio to be assembled directly on set.
While all the food I shoot with is real, there are a few things we can do on set to help give our food the best chance of photographing well. For something like this noodle soup, I shoot it cold. If the broth were super-hot, it would continue cooking the delicate carrots and mushrooms as I was assembling it, which would change the appearance of the food before we even get the shot.

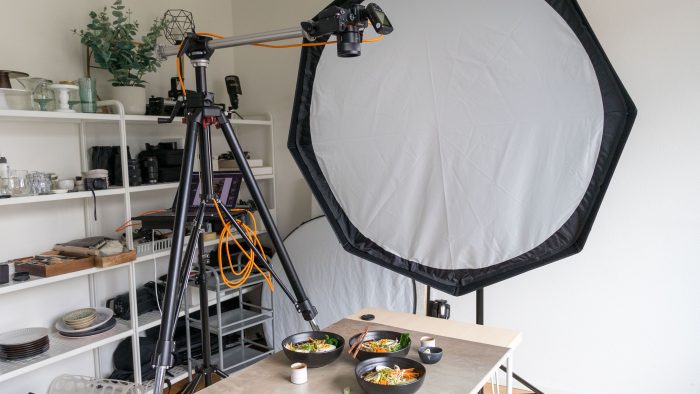
This was a simple, one light set up, with the light coming from the top of the image down to the bottom. I used my PIKA 200TTL flash in a 120cm octagonal softbox (single diffused).
In order to create a look that didn’t have any wide angle distortion, I used my 55mm Sony Zeiss f/1.8 lens on my Manfrotto 058B Triaut tripod so I could raise my camera super high above the scene. It’s a total beast of a tripod, but perfect for shots like this.
Tethering
I tethered this shot using Capture One 20. I recently moved over from Sony Imaging Edge to Capture One and am loving some of the extra features I get. One of my favourites is the overlay feature. I like to overlay a grid of the composition technique I am using for the image, to really help me nail down the details of the placement of props and garnishes.
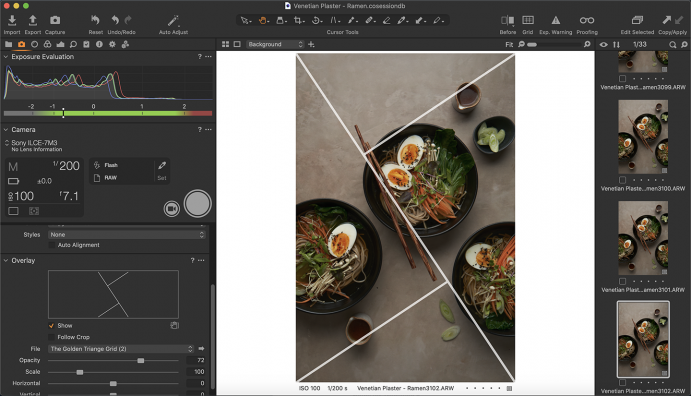
This is a screenshot of my tethering screen in Capture One 20 in this shoot, Having this grid so easily available helped me place the chopsticks exactly where I wanted them on the main bisectional line, I also pointed the top right jug down the top left intersectional line, and even used the lines to help me choose the exact positioning of the egg halves.
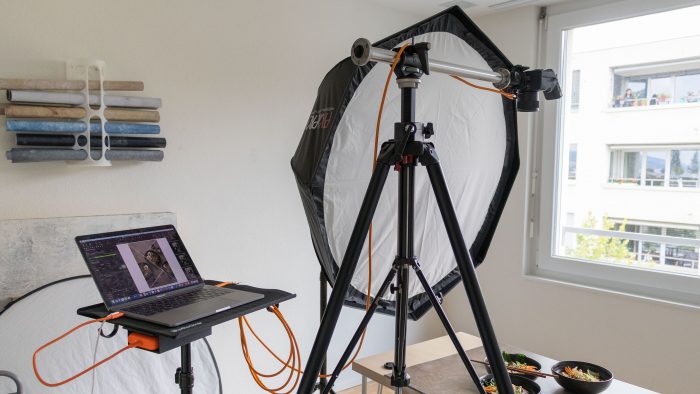
Having my laptop tethered right next to my scene allowed me to style with precision, when I had no other real way to see the live view on my camera.
Post processing for this shot was minimal. I process most of my images in Lightroom Classic to enhance colours and add a little contrast, but I wanted to keep an earthy vibe in this image so didn’t go too crazy with the edits!
Get The Gear
-
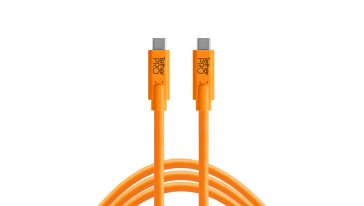
TetherPro USB-C to USB-C 5G Cable
$26.99 – $59.99 Select options This product has multiple variants. The options may be chosen on the product page -
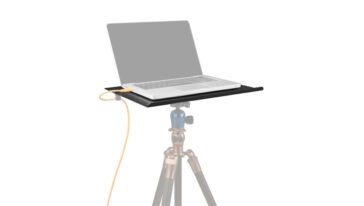
Tether Table Aero
$219.99 Select options This product has multiple variants. The options may be chosen on the product page
About Lauren Short
Lauren is a British food photographer and educator living in Zurich, Switzerland. After starting her career as a tax professional (specializing in expatriate taxation), she made the swerve into a more creative career six years ago. Lauren loves the complexity of still life photography in food, taking time to capture compelling compositions and creating work that captures culture from all over the world. Since going pro, Lauren has worked for clients big and small all over the world, with her work featured in many food magazines. When she’s not shooting for clients, Lauren loves teaching through her blog, YouTube channel, and online membership site, Food Photography Academy. She teaches food photographers how to harness the technical side of photography and how to use techniques like composition principles to create meaningful work.


