FAQ
ONsite Relay A
No. The ONsite Relay A system is three parts; 1. The coupler inserted in the battery compartment, and 2. the coupler connected to a fully charged ONsite Relay A, and 3. the Relay connected to a power source.
Connection sequence- Keeping the cables unconnected, insert coupler into camera, completely close door. Connect the ONsite Relay A to the power source. Connect the coupler to ONsite Relay Ay.
The camera should have a rubber trapdoor. Feed the coupler cable through this rubber slot and then close the door completely. Battery door must close all the way for coupler to work.
The connection is 5521, which means 5.5mm outside diameter and 2.1mm inside diameter.
The issue is with the power level display only. The camera will continue to get power from the Relay as long as the Relay is charged and connected to an external power supply. The Relay Coupler is not relaying the correct power levels to the Sony A7II family of cameras as the power decreases. Initially, it reads properly, but the power meter will keep decreasing no matter if the Relay is charging. If the power meter on the camera decreases to 0%, the Relay will still power the camera. You will need to monitor power levels using the ONsite Relay Ay LED and external battery.
If you turn the camera off and reconnect the Relay, the power percentage indicator will go back to the true level then decrease again. This does not affect the first generation of A7.
On certain cameras it’s imperative to first connect the Relay Camera Coupler and ONsite Relay A first before inserting the Relay Camera Coupler into your camera.
Since most cameras use 8V power system, ONsite Relay A can support your camera if you have access to a suitable camera coupler. If there’s a coupler not on our supporting list that you’d like Tether Tools to sell please email us at customersupport@tethertools.com.
You can check the battery level through the camera if you use a Relay Camera Coupler purchased from Tether Tools.
No. Since the ONsite Relay A trickle charges the internal battery, there may be times where the ONsite Relay A’s internal battery is completely charged and not pulling power from the external battery. If the external battery turns off, when the ONsite Relay A goes to grab more power from it, it may not be able to get any. Most external batteries will turn back on when detecting a need to supply power, so this is a case by case situation.
As long as the voltage is 5V the external battery pack is safe to use with the ONsite Relay A. The printed voltage on your power bank is the max capacity the port can output. The final output of the ONsite Relay A is fix to 8V, so it will not hurt your camera.
Yes, you can but the lower power input, the shorter the continuous power supply such as video recording time. For 5V 2A, we are confident that it is enough to power to continuously video recording with no stops. If you’re using a 5V 1A or 5V 500mA external battery you may have to break a moment if the ONsite Relay A battery is empty.
No, the ONsite Relay Ay is safe to use for your camera. It’s important to note that the Relay Camera Coupler (the piece that is inserted into your camera battery port) does not contain a battery.
The ONsite Relay A’s internal lithium battery is best charged at temperatures between 0°C to 45°C (32°F to 113°F) and discharged in temperatures between –20°C to 60°C (–4°F to 140°F). Do not charge when weather is below freezing. The ONsite Relay A’s internal lithium battery will charge and perform well at higher temperatures but may experience shorter life.
We recommend using a USB to AC wall adapter that has a 2.4A/5V output such as the Tether Tools Rock Solid Dual USB to AC Wall Adapter.
If your camera can be charged with 7-9V voltage, the Relay will can support them. Approximately 95% of cameras use 7-9 V power supply systems, so Relay can support most cameras if they have a coupler. Certain cameras such as the Canon 1D series use 11V input, which Relay can’t support.
Traditionally, when your camera battery dies, you have to stop your time-lapse, video or studio session, pull out your battery and put a new one in. With the ONsite Relay A that’s a problem of the past. Simply disconnect the battery pack from ONsite Relay A and power your camera with a 5V USB external battery pack or USB wall adapter. Your camera never loses power and you never stop shooting.
ONsite Relay Ay will work with any 5V USB external battery pack. Tether Tools offers the Rock Solid External Battery Pack which is a 10,000 mAh rechargeable power source.
ONsite Relay A can either be plugged into a 5V USB external battery pack or as an alternative into a wall outlet using a USB wall adapter. The wall adapter should provide at least 2.1 amps of power. The Tether Tools Dual USB AC wall adapter offers 2.4 amps and two USB ports to power multiple devices at once. In this setup, you may want to use a USB extension cable between the ONsite Relay A and the wall outlet for added length.
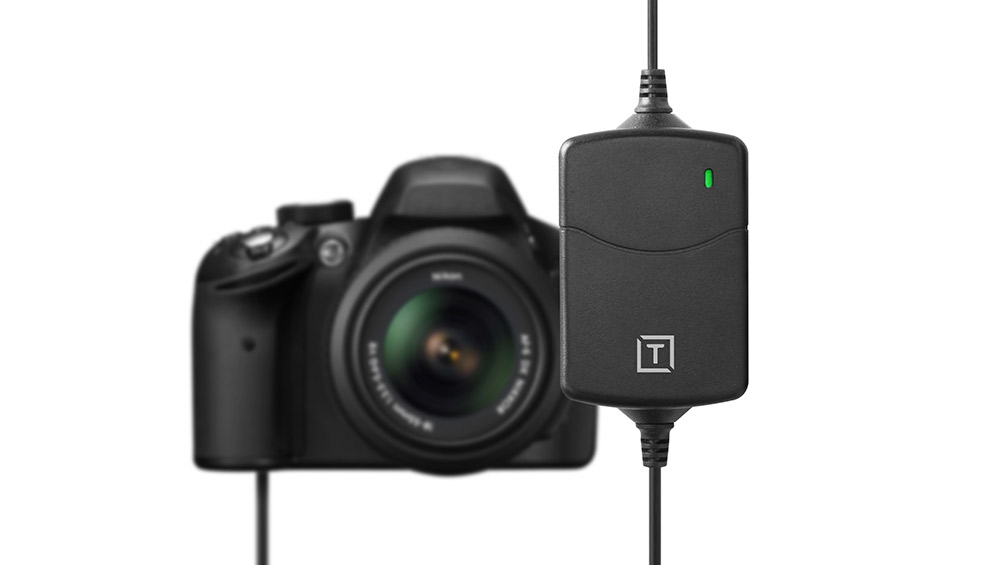
ONsite Relay A’s indicator light will show one of three colors – green, yellow or red. This is an indication of the charge in the ONsite Relay A. Green means it’s fully charged. Yellow means it’s 70-30% charged and red means it’s less than 30%. If ONsite Relay A is flashing, that means it’s not connected to a power source.
The ONsite Relay A Camera Power System is compatible with many Canon, Nikon, Sony, Panasonic, Fujifilm, and Olympus cameras. To use the ONsite Relay A, you’ll need a Relay Camera Coupler for your specific camera. To find the correct Relay Camera Coupler, check the compatibility chart at www.tethertools.com/relay.
Submit an FAQ Question
Need further assistance? For Technical Support or Customer Service, please email us at customersupport@tethertools.com