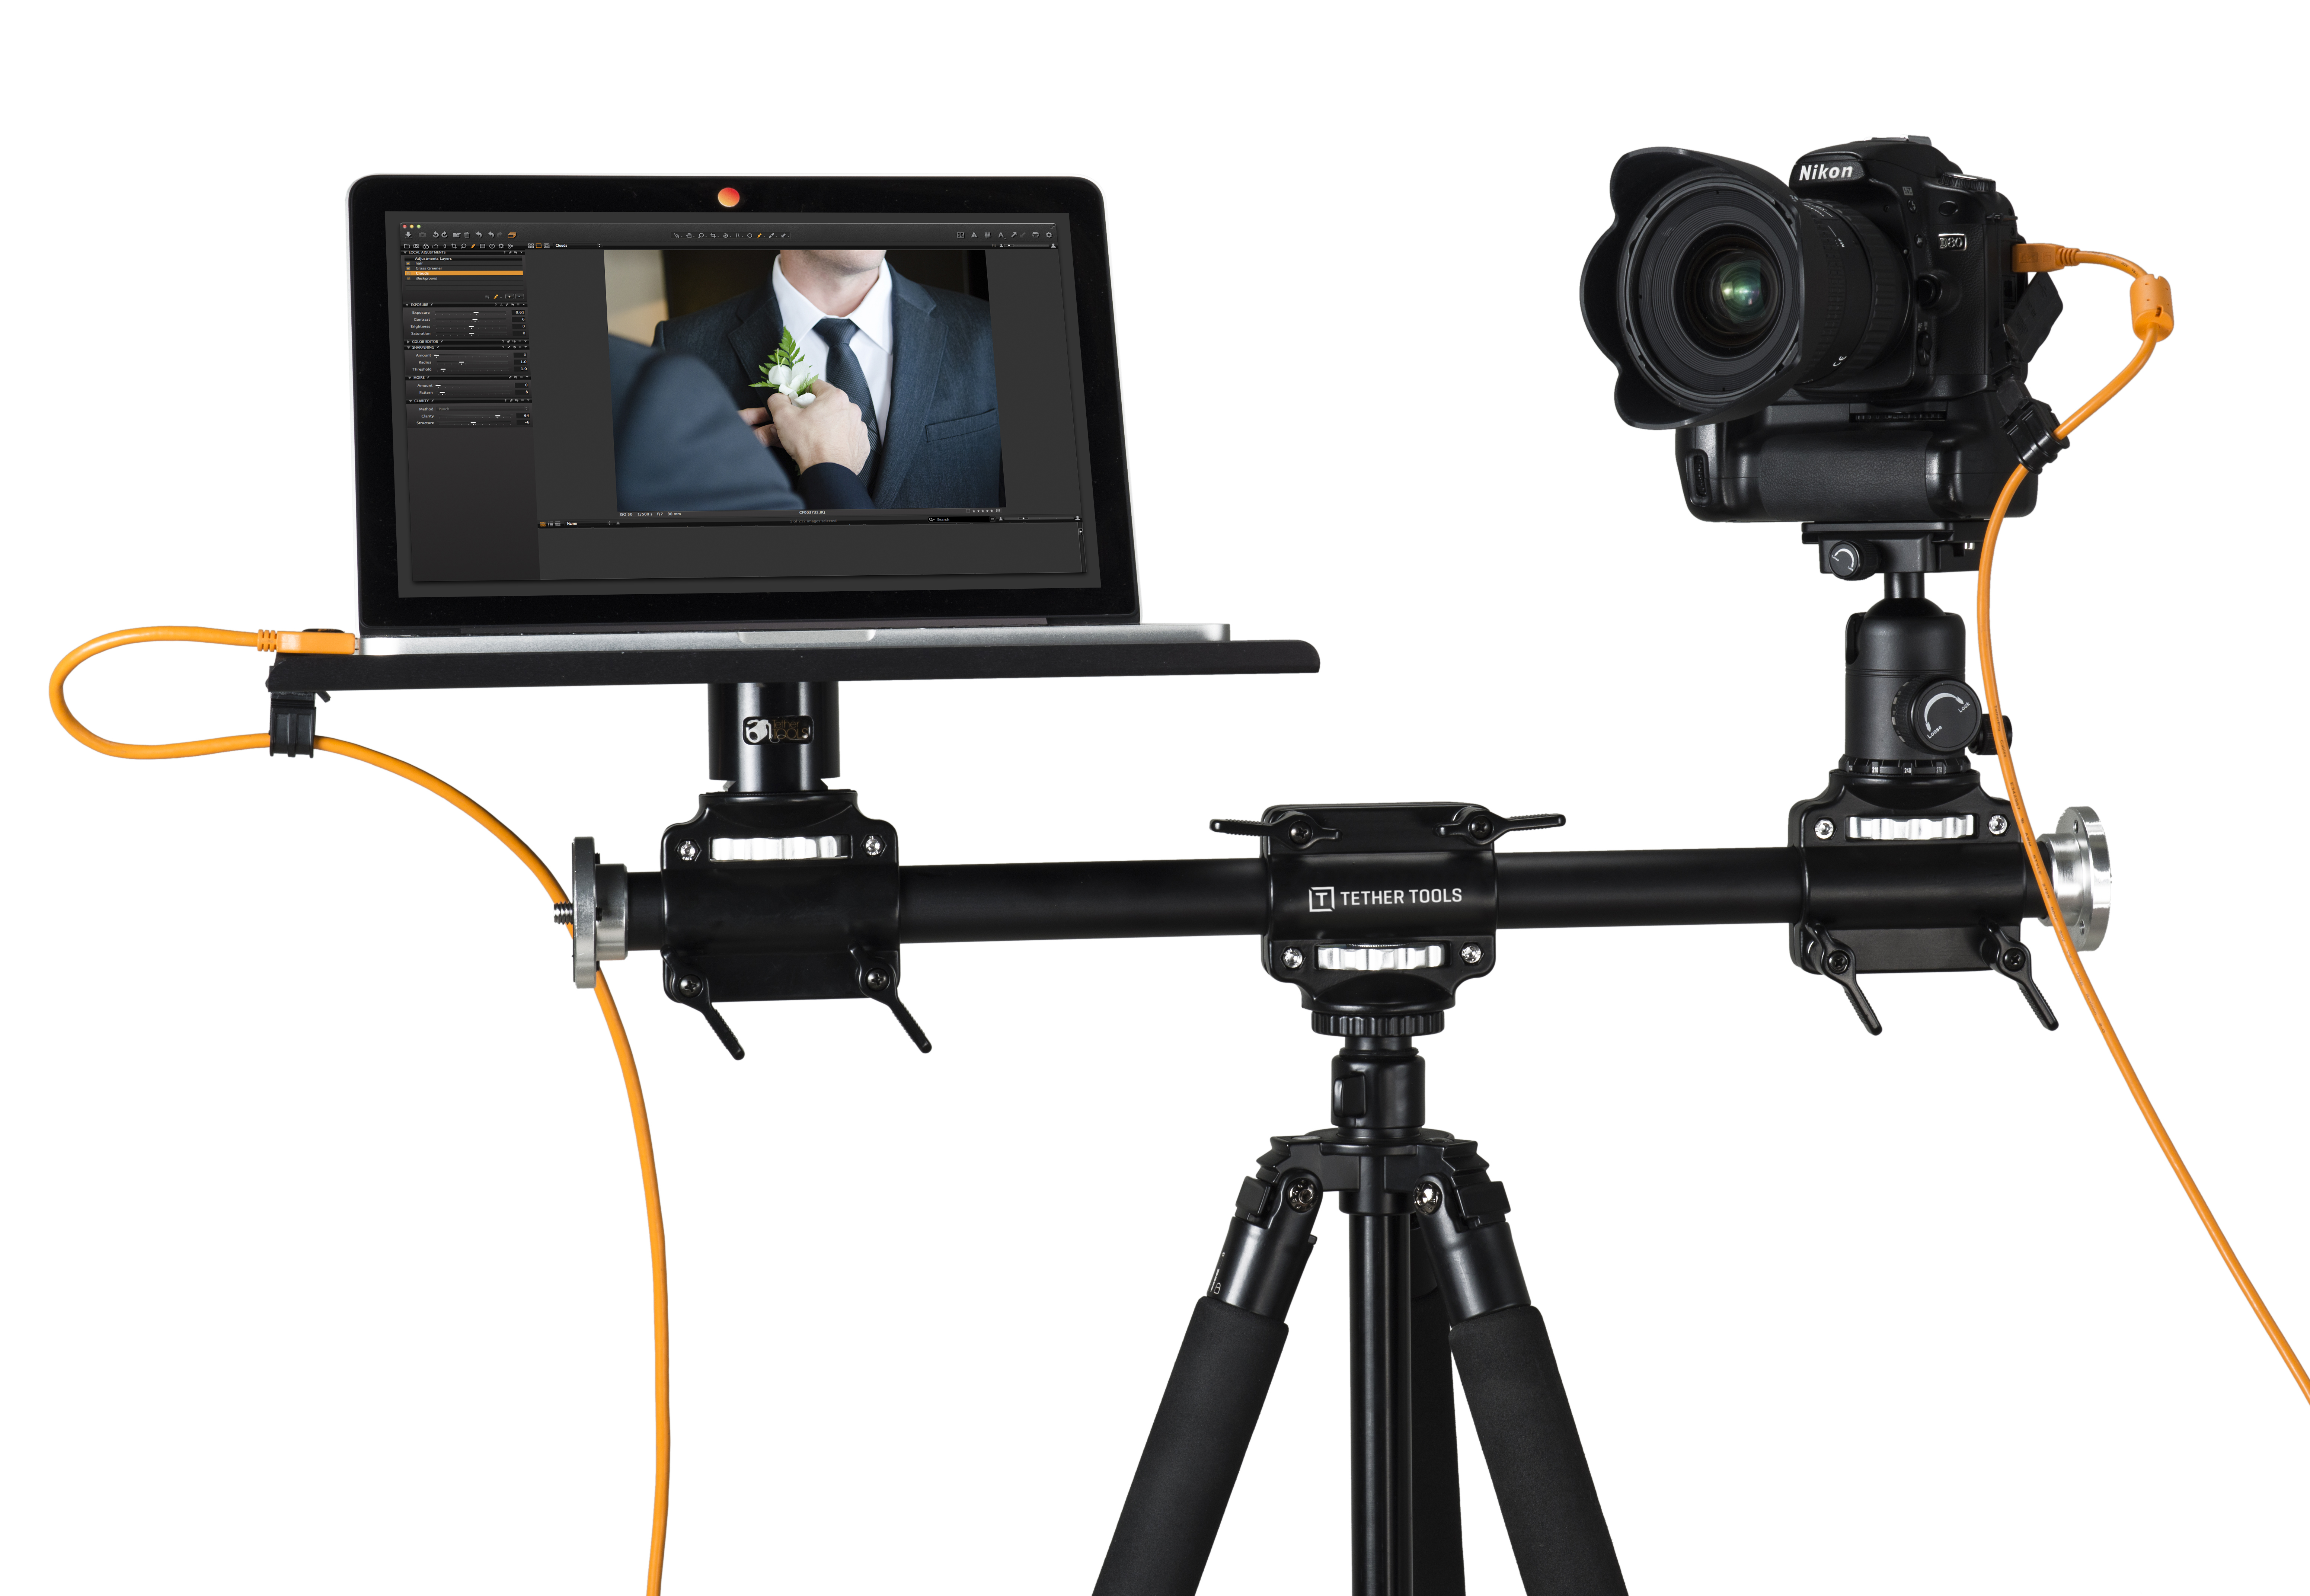
Tether Table Aero and Rock Solid 4-Head Tripod Cross Bar on a TripodBio: Catherine Slye is a fine art photographer and manages all technical support for Tether Tools. Follow her on Instagram at @catslye_photography and online at www.catslye.com.
I often talk with Tether Tools customers that are gearing up and increasing efficiency in their tethered workflow by adding a Tether Table Aero and Rock Solid Tripod Cross Bar — one of our most popular setups . But once they receive their new table they are a little unsure how it goes together. In this article I’ll show you how easy it is to set up your Tether Table Aero and how to connect it to a Rock Solid Tripod Cross Bar.
1. Unpack your Tether Table, the connector is called the LAJO. The LAJO, plus four screws and an Allen wrench are included, they are rolled inside the carrying case inside the box.
2. Line up the four holes on the face of the LAJO on the back of the table.
3. Gently turn the table over while keeping one hand on the connector.
4. Use the Allen wrench to connect the screws on the top side, to the LAJO on the bottom side.
5. Now your table is ready to connect in four different ways; to a tripod ballhead via the 1/4-20 or the Arca-Swiss mount, to the base of your tripod via the 3/8 stud or to a Low Boy Roller or lightstand via the baby stud.
6. Now that the LAJO connector is secured to the table, let’s connect it table to the Rock Solid Tripod Cross Bar via the 3/8ths on the connector. Line up the Tether Table LAJO connector female 3/8.
7. Tighten by turning the knurled knob – do not spin the table around on the 3/8ths to connect it, this will damage the rubber pad.
8. Secure the connector to the Cross Bar.
9. Tighten the two plate levers as needed.
Now you’re ready to get to work! You can customize the Tether Table as you see fit to your workflow, and in the next article we’ll take a look at other accessories for your table and how they all fit. Plus, if you’re on the wait list for the ONsite products, we’ll show you how to add it to your table in an upcoming Tech Tip.
This website stores cookies on your computer. These cookies are used to collect information about how you interact with our website and allow us to remember you. We use this information in order to improve and customize your browsing experience and for analytics and metrics about our visitors. Accept
This website uses cookies to improve your experience while you navigate through the website. Out of these, the cookies that are categorized as necessary are stored on your browser as they are essential for the working of basic functionalities of the website. We also use third-party cookies that help us analyze and understand how you use this website. These cookies will be stored in your browser only with your consent. You also have the option to opt-out of these cookies. But opting out of some of these cookies may affect your browsing experience.
Necessary cookies are absolutely essential for the website to function properly. These cookies ensure basic functionalities and security features of the website, anonymously.
Cookie
Duration
Description
cookielawinfo-checkbox-analytics
11 months
This cookie is set by GDPR Cookie Consent plugin. The cookie is used to store the user consent for the cookies in the category "Analytics".
cookielawinfo-checkbox-functional
11 months
The cookie is set by GDPR cookie consent to record the user consent for the cookies in the category "Functional".
cookielawinfo-checkbox-necessary
11 months
This cookie is set by GDPR Cookie Consent plugin. The cookies is used to store the user consent for the cookies in the category "Necessary".
cookielawinfo-checkbox-others
11 months
This cookie is set by GDPR Cookie Consent plugin. The cookie is used to store the user consent for the cookies in the category "Other.
cookielawinfo-checkbox-performance
11 months
This cookie is set by GDPR Cookie Consent plugin. The cookie is used to store the user consent for the cookies in the category "Performance".
viewed_cookie_policy
11 months
The cookie is set by the GDPR Cookie Consent plugin and is used to store whether or not user has consented to the use of cookies. It does not store any personal data.
Functional cookies help to perform certain functionalities like sharing the content of the website on social media platforms, collect feedbacks, and other third-party features.
Performance cookies are used to understand and analyze the key performance indexes of the website which helps in delivering a better user experience for the visitors.
Analytical cookies are used to understand how visitors interact with the website. These cookies help provide information on metrics the number of visitors, bounce rate, traffic source, etc.
Advertisement cookies are used to provide visitors with relevant ads and marketing campaigns. These cookies track visitors across websites and collect information to provide customized ads.

 2. Line up the four holes on the face of the LAJO on the back of the table.
 3. Gently turn the table over while keeping one hand on the connector.
 4. Use the Allen wrench to connect the screws on the top side, to the LAJO on the bottom side.
 5. Now your table is ready to connect in four different ways; to a tripod ballhead via the 1/4-20 or the Arca-Swiss mount, to the base of your tripod via the 3/8 stud or to a Low Boy Roller or lightstand via the baby stud.
 6. Now that the LAJO connector is secured to the table, let’s connect it table to the Rock Solid Tripod Cross Bar via the 3/8ths on the connector. Line up the Tether Table LAJO connector female 3/8.


 7. Tighten by turning the knurled knob – do not spin the table around on the 3/8ths to connect it, this will damage the rubber pad.

 8. Secure the connector to the Cross Bar.
9. Tighten the two plate levers as needed.
Now you’re ready to get to work! You can customize the Tether Table as you see fit to your workflow, and in the next article we’ll take a look at other accessories for your table and how they all fit. Plus, if you’re on the wait list for the ONsite products, we’ll show you how to add it to your table in an upcoming Tech Tip.
8. Secure the connector to the Cross Bar.
9. Tighten the two plate levers as needed.
Now you’re ready to get to work! You can customize the Tether Table as you see fit to your workflow, and in the next article we’ll take a look at other accessories for your table and how they all fit. Plus, if you’re on the wait list for the ONsite products, we’ll show you how to add it to your table in an upcoming Tech Tip.