Climate and Temperature
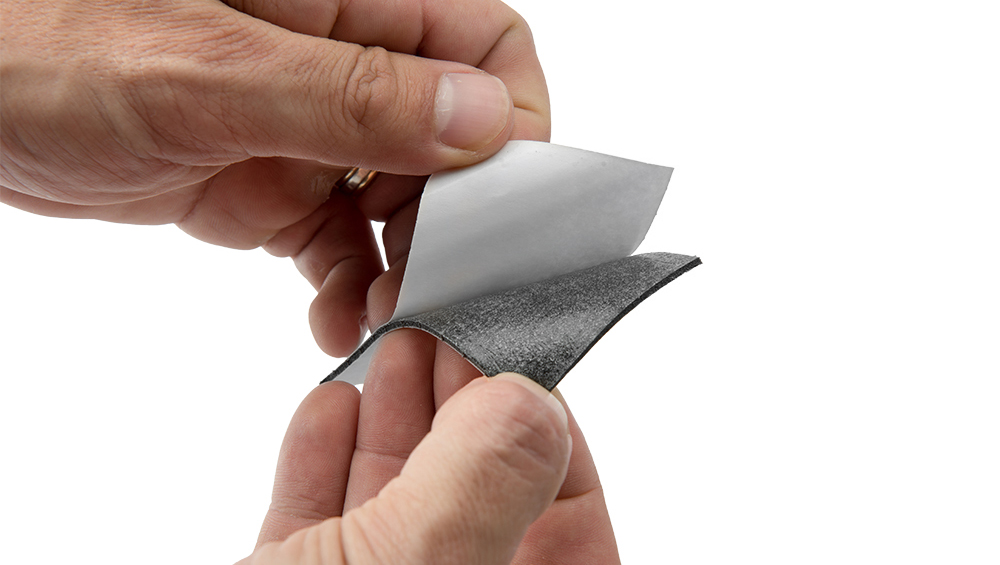
To remove SLX from surface, place thumb and forefinger on the top corner of the RapidMount SLX. Pull slowly from one side of the device, with applied pulling pressure, to release seal on strip. Once removed from the surface, peel off RS. When ready to use again, repeat process with new RapidStrip.
To remove from surface, place thumb and forefinger in the grips on the RapidMount Q20. Pull slowly from one side of the device, with applied pulling pressure, to release seal on strip. Once removed from the surface, peel off RS. When ready to use again, repeat process with new RapidStrip.
The RapidMount SLX and RapidMount Q20 are temporary solutions not intended to last longer than the event or wedding a photographer is shooting.
Please store RapidStrips in a dry place between 39°F (4°C) and 100°F (38°C). When the RapidStrips is stored under the right conditions it has a shelf life of 18 months.
The adhesive should be applied to a clean, smooth, dry surface when the surface temperature is between 0°F(-17°C) and 150°F(65°C).
Product Information and Use
Yes. Although we recommend using the RapidMount SLX for mounting speedlights, the RapidMount Q20 can be used to mount speedlights using a RapidMount Cold Shoe (sold separately).
No. RapidStrips contain an adhesive that is a synthetic rubber resin and does not contain natural rubber latex.
Many household and window cleaners leave behind a very thin layer of residue that affects how strongly the adhesive will bond to the surface.
The three-minute wait ensures that the adhesive has had enough time to build strong adhesion to the wall or surface.
No. RapidStrips are a 1/16” white polyethylene double coated foam pad that uses a synthetic rubber adhesive which provides superior performance while leaving no sticky residue upon removal, similar to gaffer tape
Before mounting ensure the surface is free of oils and dirt. Gently clean mounting surface with rubbing alcohol and cloth. Let dry. Do not use household cleaners. Be sure to follow compatible surface mounting guidelines listed in the FAQs for best results.
Peel backing off RapidStrip (RS). Attach RS to Q20 device. Peel backing off the other side of RS. Press device, with RS, firmly on mounting surface for 30 seconds. Let cure for 3 minutes. Press device firmly against the wall again before mounting cameras or other accessories to the Q20 device. Hold articulating arm firmly with one hand while tightening device with the other hand to avoid any rotation pressure on the Q20 device.
To remove from surface, place thumb and forefinger in the grips on the RapidMount Q20. Pull slowly from one side of the device, with applied pulling pressure, to release the seal on the strip. Once removed from the surface, peel off RS. When ready to use again, repeat the process with new RapidStrip.
Before mounting ensure surface is free of oils and dirt. Gently clean mounting surface with rubbing alcohol and cloth. Let dry. Do not use household cleaners. Be sure to follow compatible surface mounting guidelines listed in the FAQs for best results.
Loosen drawstring on SLX. Peel backing off RapidStrip (RS). Attach RS to back of SLX. Peel backing off other side of RS. Press device, with RS, firmly against mounting surface for 30 seconds. Let cure 3 minutes. Press device against wall again to ensure RS adhesive is firmly attached to the surface before mounting speedlight in holder. Place speedlight in cradle, angle light as needed and tighten drawstring to secure around joint of speedlight. SLX will accommodate an attachable trigger (transmitter) under cradle or hanging from SLX arm. Modifiers can be added to speedlights. Be sure to maintain less than 1.5lbs of gear in holder.
Loosen drawstring on SLX. Peel backing off RapidStrip (RS). Attach RS to back of SLX. Peel backing off other side of RS. Press device, with RS, firmly against mounting surface for 30 seconds. Let cure 3 minutes. Press device against wall again to ensure RS adhesive is firmly attached to the surface before mounting speedlight in holder. Place speedlight in cradle, angle light as needed and tighten drawstring to secure around joint of speedlight. SLX will accommodate an attachable trigger (transmitter) under cradle or hanging from SLX arm. Modifiers can be added to speedlights. Be sure to maintain less than 1.5lbs of gear in holder.
Surface
Before mounting ensure surface is free of oils and dirt. Gently clean mounting surface with rubbing alcohol and cloth. Let dry. Do not use household cleaners. Be sure to follow compatible surface guidelines for best results.
No. RapidMount products are intended for mostly smooth surfaces such as those listed above. However, RapidMounts will stick to painted, smooth cinder block.
The RapidMount SLX and RapidMount Q20 are designed to be used with the Tether Tools RapidStrips. RapidStrips adhere to smooth and lightly textured surfaces including drywall, painted walls, veneer, glass, mirror, laminate, fiberglass, metal, tile, porcelain and marble. Do not mount to raw wood, brick, soft plastics, vinyl, fabric, Venetian painted surfaces, wallpaper, and spackled or repaired surfaces.
Submit an FAQ Question
Need further assistance? For Technical Support or Customer Service, please email us at customersupport@tethertools.com


