Connecting Case Air to Router on a Mac
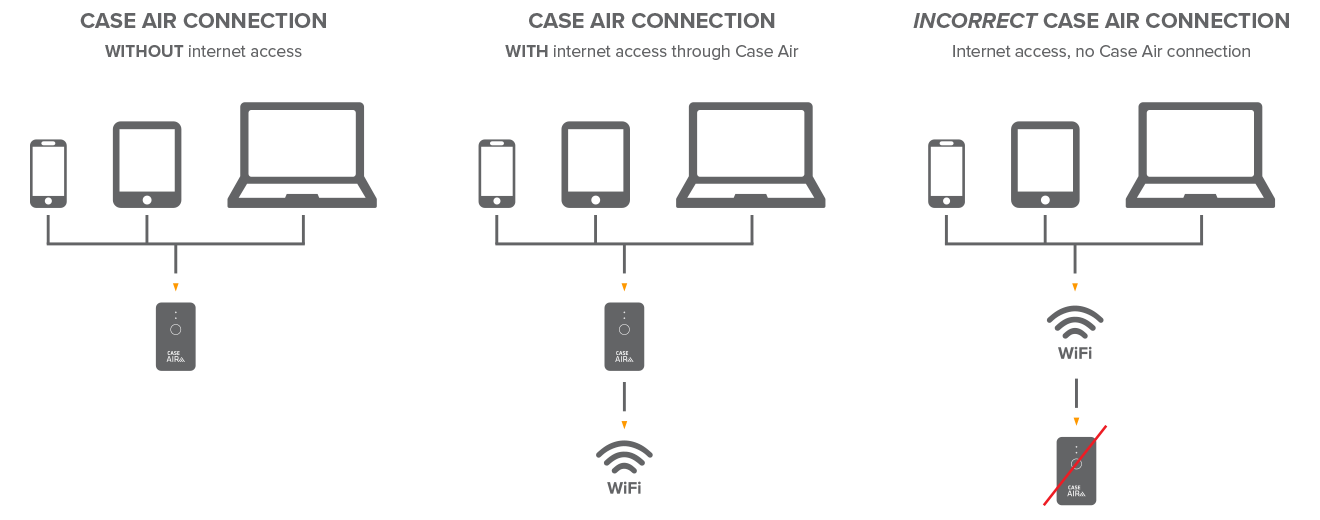
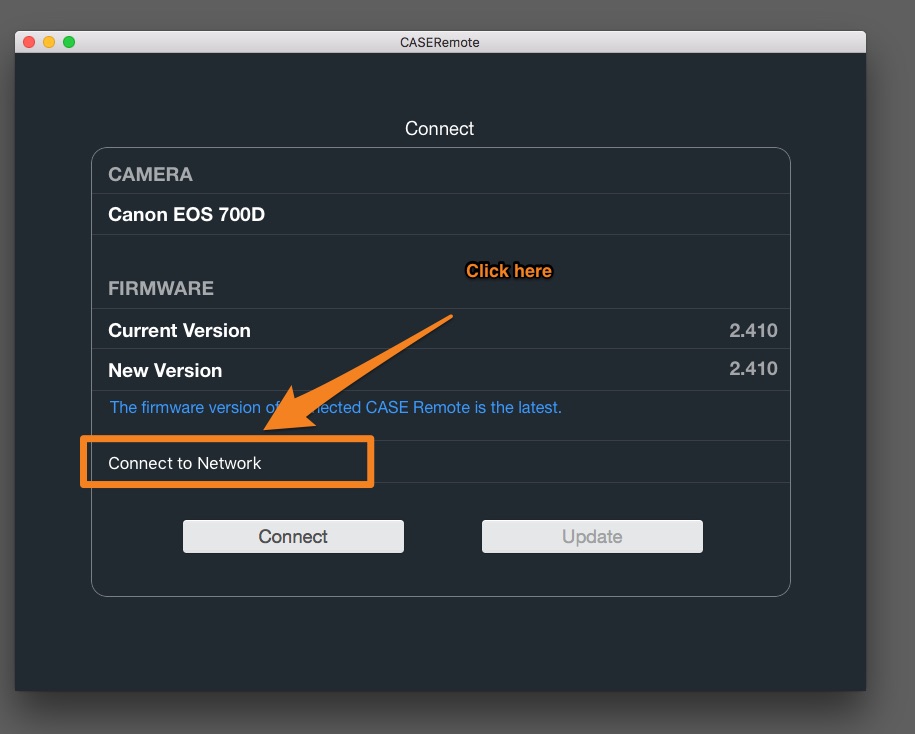
Once you connect to the Case Air from your phone, tablet or computer, your device will lose its internet connectivity. This is because you are using your device’s WiFi antenna to connect to the Case Air. In order to connect to the Case Air and retain your internet connection you must first connect the Case Air to your router.1. In the Mac application, click on “Connect to Network”
2. Choose the network you wish to connect to and click on Connect
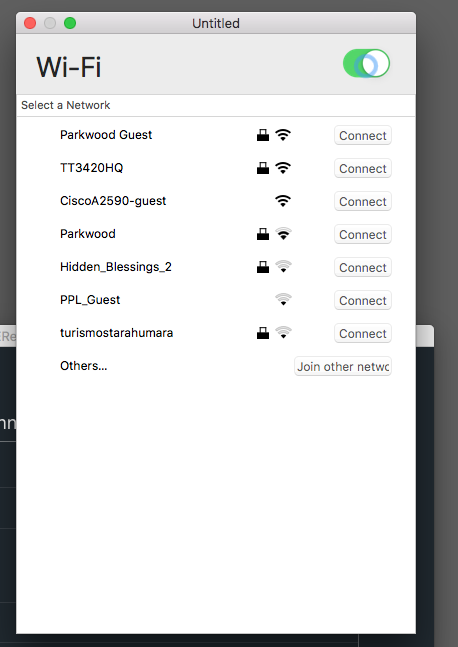
3. Enter your network’s password and click OK.
4. Once you connect the Case Air to your WiFi router, the Case Air will have to restart its WiFi connection to finalize the connection. This will disconnect your computer from the Case Air causing your computer to reconnect to your primary WiFi network. The Case Air WiFi SSID (CASE_Rxxxxx) may still show in the list of WiFi hotspots on the Mac. However, trying to re-connect to this hotspot before the Case Air has reset it’s network connection will give an error message. If this happens, just wait a few more seconds and try again.
5. Close the Case Remote Application if it doesn’t automatically.
6. Connect your phone, tablet or computer to your Case Air network (CASE_Rxxxxx), not your router network. If you get an error message, just wait a few more seconds and try again. This means the Case Air is not connected to your router yet.
7. Launch the Case Remote Application
You should now be able to access the Internet from your Mac computer while connected to the Case Air. You will know this is working when you are connected to the Case Air via WiFi from your Mac and still access the Internet.