
Bio: Catherine Slye is a fine art photographer and manages all technical support for Tether Tools.
You’ve received your Air Direct and have explored the contents included with it in the box and are now ready to get started. But first, have you downloaded the Air Direct Utility (ADU) software to your computer? If not, please go to our website and download it at www.tethertools.com/adu to for either Windows and Mac.
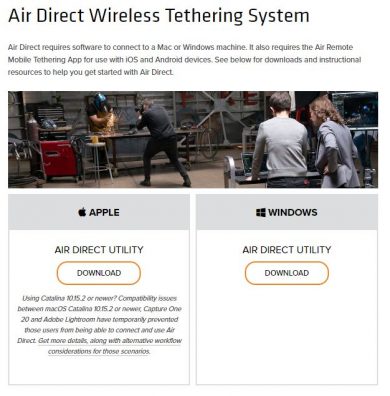
Click Download for the ADU software appropriate for your computer. Follow the install procedure as per your computer.
Connect Steps
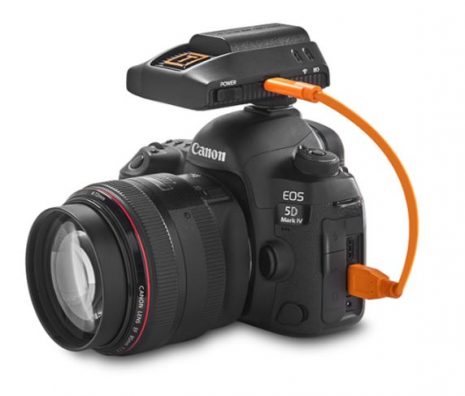
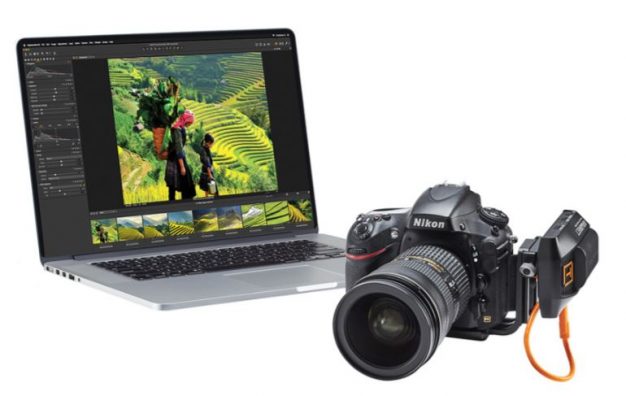
Step 1. Connect the Air Direct to your camera. Insert the correct supplied compatible connector cable to your camera’s USB data port and the opposite USB-C end into the Air Direct. At this point, keep the camera turned off.
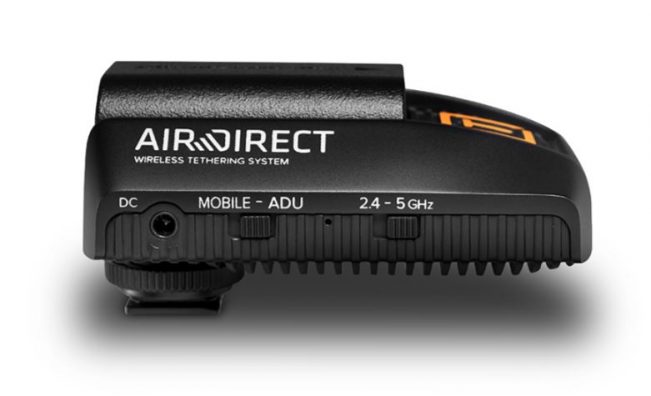
Step 2. On the Air Direct, select a WiFi speed, either 2.4GHz or 5GHz, set the switch to a WiFi network and set the switch to ADU.
The Air Direct can transmit over one of two Wi-Fi speeds: 2.4GHz and 5GHz We recommend using the frequency best suited for your purposes, (you’ll want to make sure your computer or laptop can connect to a 5GHz; most newer systems have this capability.) Typically, 2.4GHz is best for longer distances and 5GHz is best for larger files sizes and faster speeds. Note: 2.4GHz is typically slower than 5GHz. And 5GHz cannot reach the distances that 2.4GHz can.
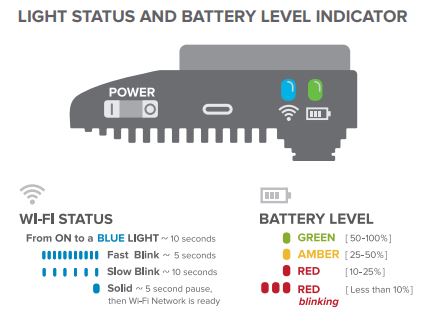
Now turn the Power On.
Step 3. The Air Direct Wi-Fi network you have selected (indicated by the blue light) will initiate. After 10 seconds, the blue light will blink fast for approximately five seconds, slow blink for approximately 10 seconds, then turn to a solid blue light. Once solid, pause for approximately 5 seconds, now the Air Direct Wi-Fi Network is ready to connect to your computer.
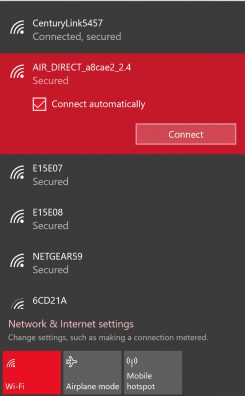
Step 4: Access the Wi-Fi Settings on your computer and connect to the Air Direct Wi-Fi Network (2.4 or 5GHz). Enter the default password, 12345678. The password will be saved by your computer. We recommend setting the AIR_DIRECT Wi-Fi as your priority. Note: On a PC, check Connect Automatically and on a Mac go to your Network Preferences. W-iFi networks on a PC shown below.
Step 5:
On your computer, launch the Air Direct Utility (ADU) software. This will link your Air Direct to your computer. You will be notified you are connected when the connection has been made. *ADU connected on a PC shown below.
Click Help > Check for Updates to make sure you are running the latest ADU software. Be sure to update the firmware when you are prompted.
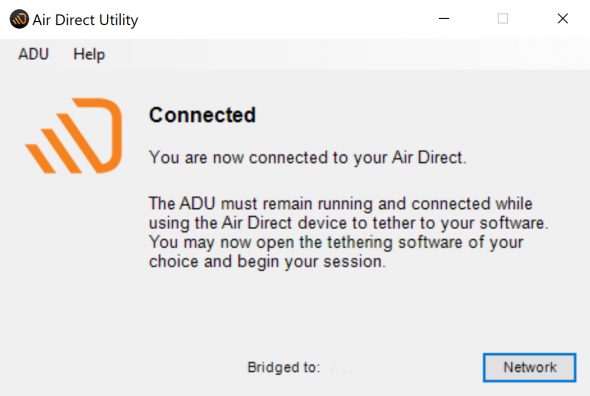
Step 6: You may now open the tethering software of your choice, turn your camera on and begin your session. The ADU must remain running and connected while using the Air Direct device to tether to your software
Tethering Tips: Same as when you tether to your computer with a cable, we highly recommend:
- Ensure your camera is supported by the tethering software.
- Turning off Dropbox and Google Drive from syncing in the background.
- Disable any firewall, anti-virus software from running while tethering.
- Close all other tethering programs when shooting tethered – only have one open and connected to your camera at a time.
- Make sure your camera is up to date on its firmware.
- Check power levels on your camera, the Air Direct and laptop.
- For Sony, Fuji and Lumix – turn Charge via USB Power Off, and set camera to PC Remote.