
Lightroom has become the industry standard for professional-grade photo editing. With so many in-depth features making it possible to enhance your images, it can take considerable time and effort to navigate the various menus on display. To ensure your workflow is fully optimized, you need to make the most of Lightroom keyboard shortcuts.
Why Use Lightroom Keyboard Shortcuts?
After a full day of shooting, it’s not unusual for a photographer to have amassed hundreds, if not thousands, of images. When it comes time to start processing these, knowing the most effective shortcuts for Lightroom ensures you can dramatically reduce how long it takes to complete the job.
Rather than struggling with a trackpad or mouse through complicated menus, you can flow through your tasks with incredible productivity using the ideal shortcuts for Lightroom. Which ones are essential? Here, we’ve highlighted a selection that will undoubtedly boost your editing output.
Hide Panels: Shift + Tab
When you edit your images, it helps to have a distraction-free workspace. However, Lightroom is jam-packed with toolbars to help you enact adjustments that level up your photos. To instantly remove these and gain a clear look at your image, hit Shift + Tab to hide every panel on the screen.
Crop Tool: R
If you select an image in the Library module that needs a crop, there’s no need to do anything but press “R.” This will instantly open the image in Crop Mode within the Develop module, saving you several clicks. With the crop tool now open, you can also press “X” to swap between portrait and landscape views.
Show Clipping: J
When editing your images in Lightroom, you want to identify any issues as quickly as possible. In the Develop module, pressing “J” will instantly show clipped shadows and highlights that lack crucial detail. Marked in blue and red respectively, open up the Basic panel and use the sliders to resolve these issues.
Survey Mode: N
If you’ve captured a series of images from an almost identical perspective, comparing them side by side is a great way to choose the best one. From the Library module, highlight as many photos as you need and press “N.” With the images displayed alongside each other in Survey Mode, you can compare and remove them until you’ve decided on your favorite.
Pick and Reject: P or X
If you’ve got hundreds of images to work through, you don’t want to waste any time sorting the “wheat from the chaff.” Viewing your images in the Library module, you can pick or reject each consecutive photograph using the “P” and “X” keys. When it’s time to edit, filter by picked to have your top images ready to go.
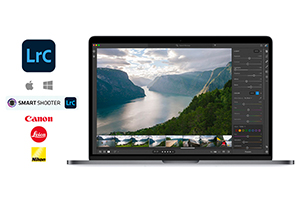
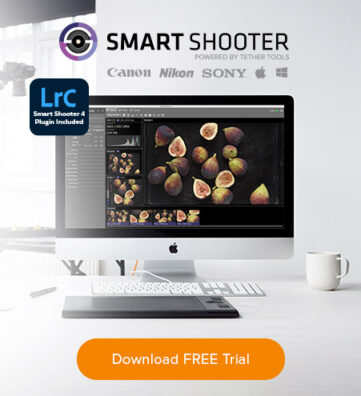
Smart Shooter Plug-Ins for Sony & Nikon Users:
In order to tether your Sony Alpha series or Nikon Z7 camera to Lightroom, you need to download Smart Shooter. Once set up, Smart Shooter will run in the background while you use Lightroom Classic to maximize your workflow. You’ll find having Smart Shooter running in the background is seamless and fast. We also offer a 30-day trial of the software if you would like to try it out.
The following setup is only required once and is fairly easy to do:
- Click on the Menu tab on your Sony camera.
- Find the PC remote function tab.
- Select the connect method to USB.
From within your newly downloaded Smart Shooter software, follow the steps below:
- Go to Preferences and click on the Lightroom tab and then click on Install Plug-in.
- Make sure you tick the checkbox in both the Enable Lightroom Tethering Connection and the Allow Lightroom Plug-in to Shutdown Application box.
- Click on Apply and then OK.
- Keep Smart Shooter running in the background in order to tether your Sony Alpha or Nikon camera with Lightroom.
Shoot Smarter With Tether Tools
Knowing the perfect Lightroom keyboard shortcuts is bound to maximize your editing efficiency, yet it’s also possible to enhance your productivity on set with the power of tethering. Ready to get started? Find the right cable, use the latest tethering software, and add a tethering table to your gear to get a real-time preview of each shot, make adjustments on the fly, and deliver better-quality work.
