1. Insert the bottom of the iPad (end with the “Home” button) into the X Lock case.
2. Insert the top corners by pressing the iPad into the case. Ensure the X Lock case is turned in the correct direction. The speaker and camera cut-outs on the case should line up with the iPad’s speaker and camera.
3. If needed, roll top corners onto the the iPad.
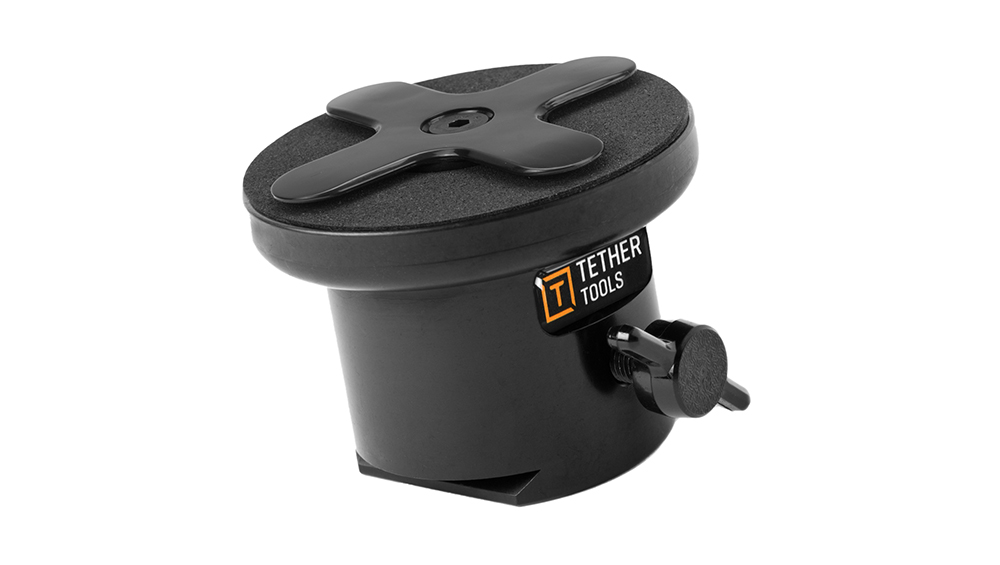
Adding the X Lock Connect Bracket
1. Insure the iPad is securely positioned in the X Lock Case.
2. Place the cases “X” over the X Lock Connect bracket and rotate the iPad onto the Connect.
3. A quick turn and click and the iPad is securely mounted. Another spin and it quickly swings between portrait and landscape orientation.
Tips/Warnings
1. Ensure there are no stickers or skins on the rear surface of the iPad. If there are any items on back of the iPad the X Lock case will not fit properly. Improper installation may damage the case and risk the security of the iPad.
2. The top corners are not designed to hook over the iPad glass, rather the case will hook onto the outer silver bezel.
3. If one top corner of the X Lock case locks into place and the other top corner will not, try reversing the top corner installation process by first locking on the top corner that did not clip on originally, then the other corner.
4. The X Lock case is designed to be a snug fit acting as a protective case for the everyday uses of the iPad. Should you decide to remove the case you will find subsequent installations of the case easy.
For help with assembly, identifying parts, product information or to order accessories, please contact us:Telephone:
888-854-6565
Email:
customersupport@tethertools.com
This website stores cookies on your computer. These cookies are used to collect information about how you interact with our website and allow us to remember you. We use this information in order to improve and customize your browsing experience and for analytics and metrics about our visitors. Accept
This website uses cookies to improve your experience while you navigate through the website. Out of these, the cookies that are categorized as necessary are stored on your browser as they are essential for the working of basic functionalities of the website. We also use third-party cookies that help us analyze and understand how you use this website. These cookies will be stored in your browser only with your consent. You also have the option to opt-out of these cookies. But opting out of some of these cookies may affect your browsing experience.
Necessary cookies are absolutely essential for the website to function properly. These cookies ensure basic functionalities and security features of the website, anonymously.
Cookie
Duration
Description
cookielawinfo-checkbox-analytics
11 months
This cookie is set by GDPR Cookie Consent plugin. The cookie is used to store the user consent for the cookies in the category "Analytics".
cookielawinfo-checkbox-functional
11 months
The cookie is set by GDPR cookie consent to record the user consent for the cookies in the category "Functional".
cookielawinfo-checkbox-necessary
11 months
This cookie is set by GDPR Cookie Consent plugin. The cookies is used to store the user consent for the cookies in the category "Necessary".
cookielawinfo-checkbox-others
11 months
This cookie is set by GDPR Cookie Consent plugin. The cookie is used to store the user consent for the cookies in the category "Other.
cookielawinfo-checkbox-performance
11 months
This cookie is set by GDPR Cookie Consent plugin. The cookie is used to store the user consent for the cookies in the category "Performance".
viewed_cookie_policy
11 months
The cookie is set by the GDPR Cookie Consent plugin and is used to store whether or not user has consented to the use of cookies. It does not store any personal data.
Functional cookies help to perform certain functionalities like sharing the content of the website on social media platforms, collect feedbacks, and other third-party features.
Performance cookies are used to understand and analyze the key performance indexes of the website which helps in delivering a better user experience for the visitors.
Analytical cookies are used to understand how visitors interact with the website. These cookies help provide information on metrics the number of visitors, bounce rate, traffic source, etc.
Advertisement cookies are used to provide visitors with relevant ads and marketing campaigns. These cookies track visitors across websites and collect information to provide customized ads.