Focus stacking combines multiple images at different focal lengths to eliminate blur and keep all elements within an image crisp and clear. This process is great for multiple applications but really shines within product photography where clients want every aspect of a product in focus. Learn how to use Smart Shooter to automate the process and create a crisp image throughout the entire depth of field.
Tools
- Smart Shooter – Free 30-Day Trial
- DSLR or Mirrorless Camera
- Tethering Cable or Wireless Tethering Option Such as Air Direct or Case Air
- Helicon Focus – Free 30-Day Trial
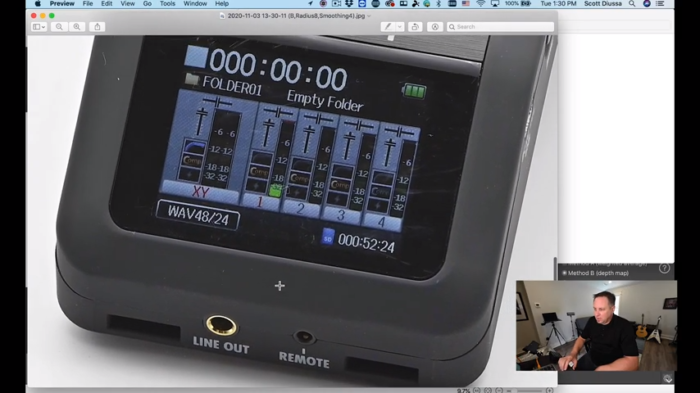
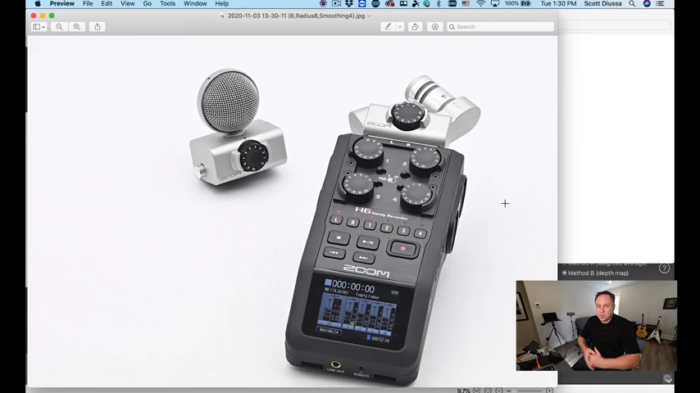
1.) Set up your shot and tether into Smart Shooter. In this example, you’ll notice that the foreground in the back is not focused. This is where focus stacking will play a part in fixing this.
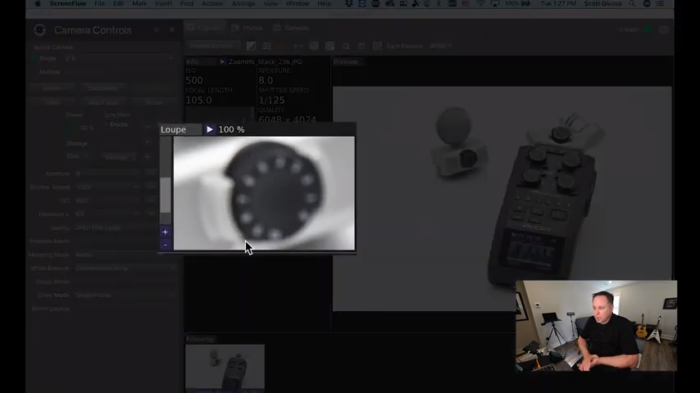
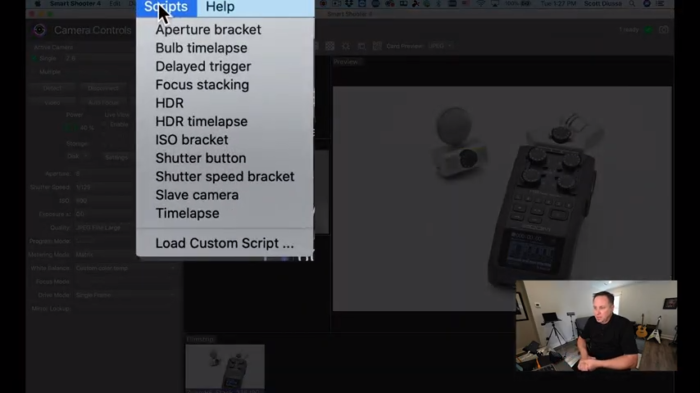
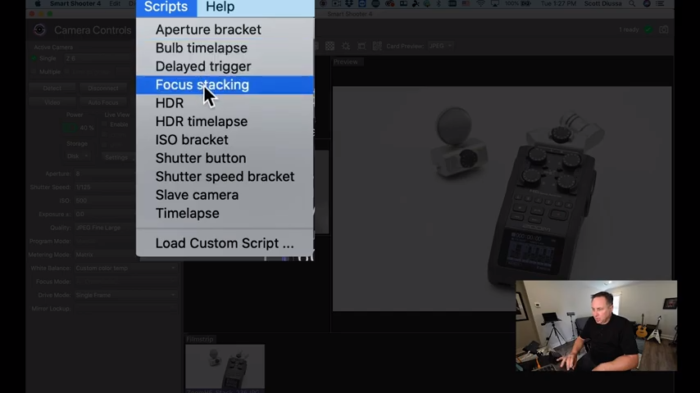
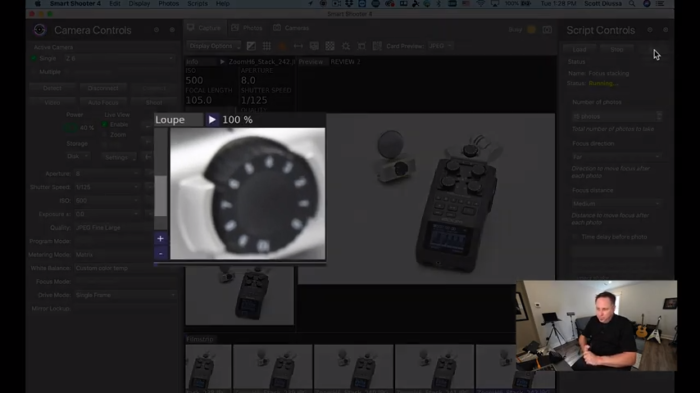
2.) Enable Focus Stacking. At the top of Smart Shooter, navigate and click where on “Scripts,” then choose “Focus Stacking.”
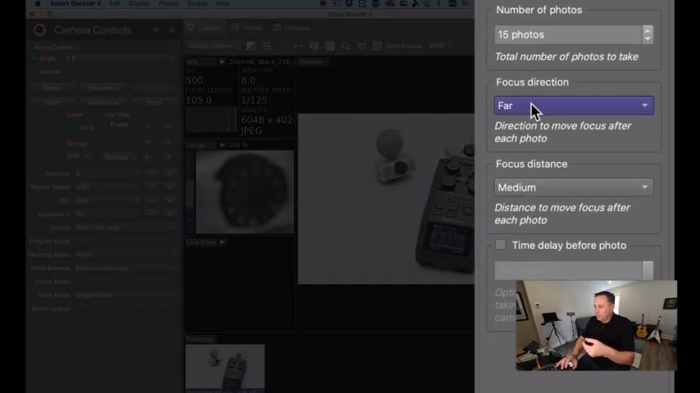
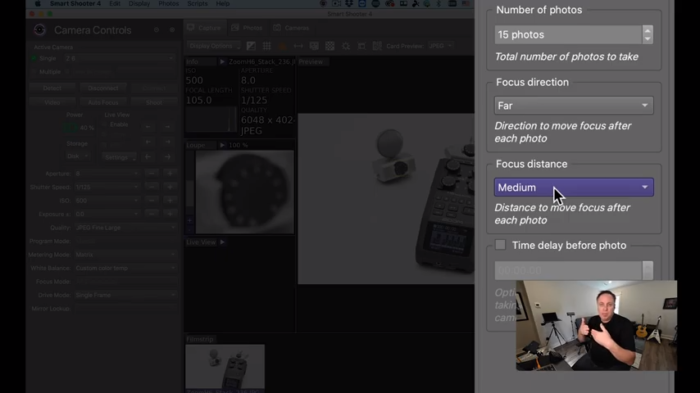
3.) Choose your Focal Length. Next, under Script Controls, choose “Far” under Focus Direction and “Medium” under Focus Distance.
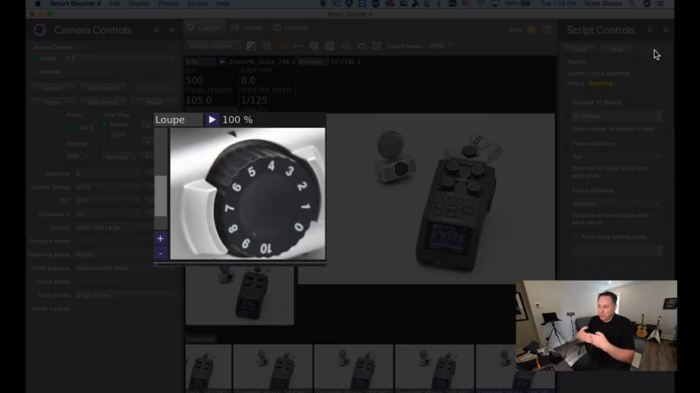
4.) Run the Script. At the top right of the screen, click the “Run” button. Smart Shooter will now capture multiple photos while moving the focus from the object in the foreground to the object in the background.

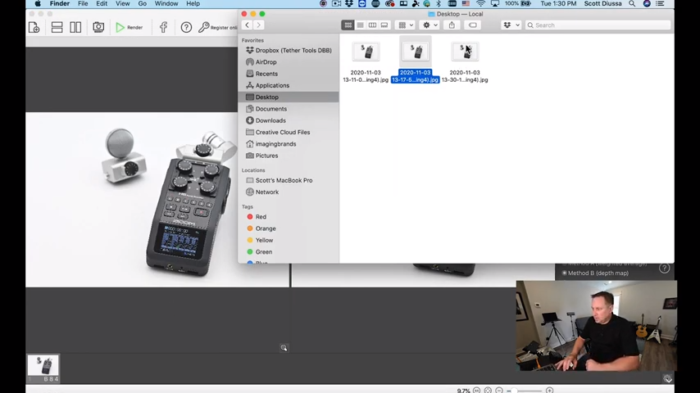
5.) Save Your Photos. Save your photos to a folder of your choice if you haven’t already done so.
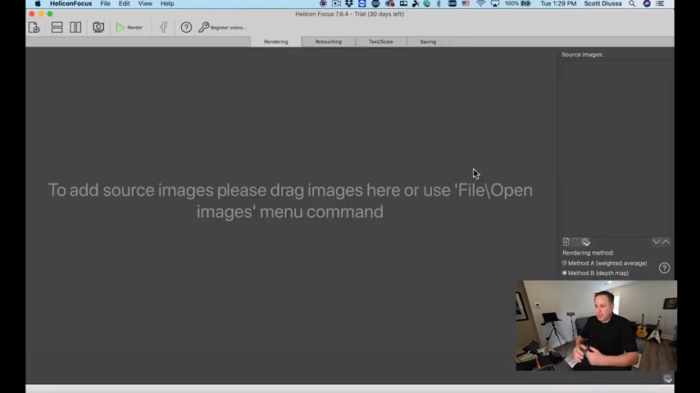
6.) Open Helicon Focus. Next, we’ll be using a digital image processing program called “Helicon Focus” to render the images we just created in Smart Shooter. Note: Photoshop also has the ability to do this as well if you choose to use that software.
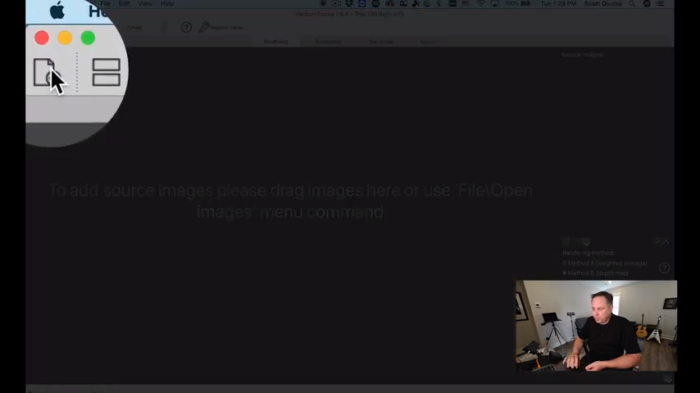
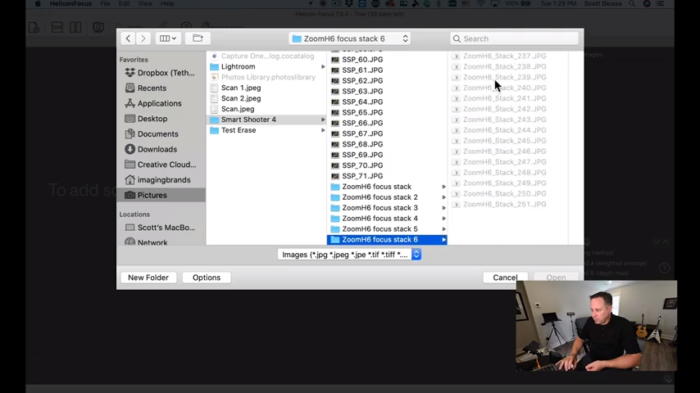
7.) Import Your New Photos. In Helicon Focus, click the file/plus icon on the top left-hand side of the screen and open the folder where your photos were saved.
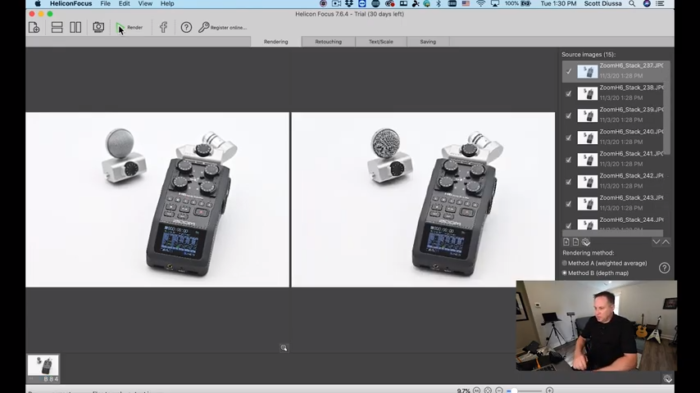
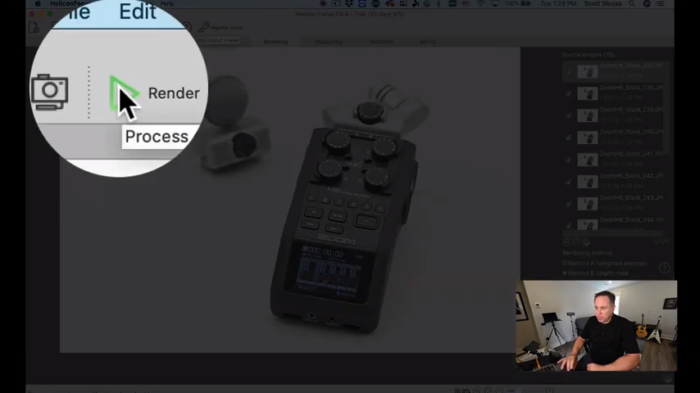
8.) Render Your Photos. At the top right-hand side of the screen, click “Render”. Helicon Focus will analyze all images and compile them based on focal points from background to foreground.
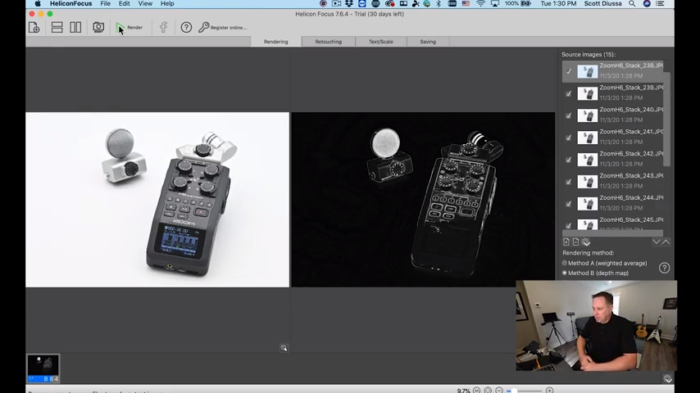

9.) Save Your Rendered Photo. Rendering will end and you will need to save the final image where you’d like. The final image will be rendered in focus, crisp, and clear.